Refine Essential Intro
- Atul
- Programming
- December 14, 2024
Table of Contents
The Refine Essential Intro(Official)

Disable telemtry by adding this to env file
REFINE_NO_TELEMETRY=true
Basically, going through all the components in Refine which I had just touched in my previous blog post.
Let the journey begin!
These tutorials are good ones.
Single records:
- I have fetched data using getOne. (dataProvider)
- Showed the data using useOne. (hook)
- Updating the data using update. (dataProvider)
- Data mutation/updation using useUpdate. (hook)
Listing records:
- GETing a list of records using getList. (dataProvider)
- Showing the list of records using useList. (hook)
- Added pagination, sorter, filter
pagination: { current: 1, pageSize: 10 },
sorters: [{ field: "name", order: "asc" }],
filters: [{ field: "material", operator: "eq", value: "Aluminum" }],
Forms:
- useForm hook can be used for 3 different actions;
create: To create a new record for a resource using the data provider’s create method.
edit: To update an existing record for a resource using the data provider’s update method.
clone: To create a new record using an existing record’s data as a template using the data provider’s create method.
Creating a new record using create. (dataProvider)
Creating a form using useForm. (hook)
After collecting data from form use onFinish from useForm. (hook-function)
Handling Relationships using useSelect. (hook)
- To handle this relation in our forms, Refine offers a useSelect hook. This hook will be used to fetch the data for the relationship and provide us options for the
<select>element.
- To handle this relation in our forms, Refine offers a useSelect hook. This hook will be used to fetch the data for the relationship and provide us options for the
Tables:
- useTable hook is an extended version of the useList hook. (hook)
- For fetching relationships using useMany. (hook)
- Fetching multiple records using getMany. (dataProvider)
- If getMany method is not implemented in the data provider, Refine will automatically fetch the records one-by-one using the getOne method.
- Added pagination, sorter, filter
Authentication:
Now we’ve learned the data fetching and manipulation essentials of Refine. In this unit, we’ll learn how to add authentication to our application and the essentials of authentication in Refine.
Creating an Auth Provider
export const authProvider: AuthProvider = {
  login: async ({ email, password }) => {
    throw new Error("Not implemented");
  },
  logout: async () => {
    throw new Error("Not implemented");
  },
  check: async () => {
    throw new Error("Not implemented");
  },
  onError: async (error) => {
    throw new Error("Not implemented");
  },
  // optional methods
  register: async (params) => {
    throw new Error("Not implemented");
  },
  forgotPassword: async (params) => {
    throw new Error("Not implemented");
  },
  updatePassword: async (params) => {
    throw new Error("Not implemented");
  },
  getIdentity: async () => {
    throw new Error("Not implemented");
  },
  getPermissions: async () => {
    throw new Error("Not implemented");
  },
};
- Using check for checking authenticity. (authProvider)
- Checks if token is in storage.
Wrapping the components created in previous chapter with Authentication
<Authenticated key="protected" fallback={<div>Not authenticated</div>}>
  {/* <ShowProduct /> */}
  {/* <EditProduct /> */}
  <ListProducts />
  {/* <CreateProduct /> */}
</Authenticated>
This renders Not authenticated
Logging In & Out
- Created login to login the user. (authProvider)
- Logging in the user via useLogin. (hook)
- Logging out the user using logout. (authProvider)
- Removes the token from storage.
- Logging out user using useLogout. (hook)
Using User Identity
In the previous steps, we’ve added login and logout functionalities and protected our content from unauthenticated users. Now, we’ll be learning about the Refine’s useGetIdentity hook to get the user’s identity from our API and implement the getIdentity method in our auth provider.
- Create getIdentity to get the user indentity. (authProvider)
- Showing user details by using useGetIdentity. (hook)
Data Provider Integration
Having implemented the authentication logic, we will now integrate it with our data provider to protect our resources from unauthenticated users.
We’ve obtained the token from our API and stored it in the localStorage in the previous steps. Now, we’ll be adding the Authorization header to our API requests.
We’ll also be learning about the onError method of the auth provider to handle the authentication-related errors that are thrown by the data provider.
- Added header with out token so that client can access protected content.
const fetcher = async (url: string, options?: RequestInit) => {
  return fetch(url, {
    ...options,
    headers: {
      ...options?.headers,
      Authorization: localStorage.getItem("my_access_token"),
    },
  });
};
- Added onError to get any error from authentication. (authProvider)
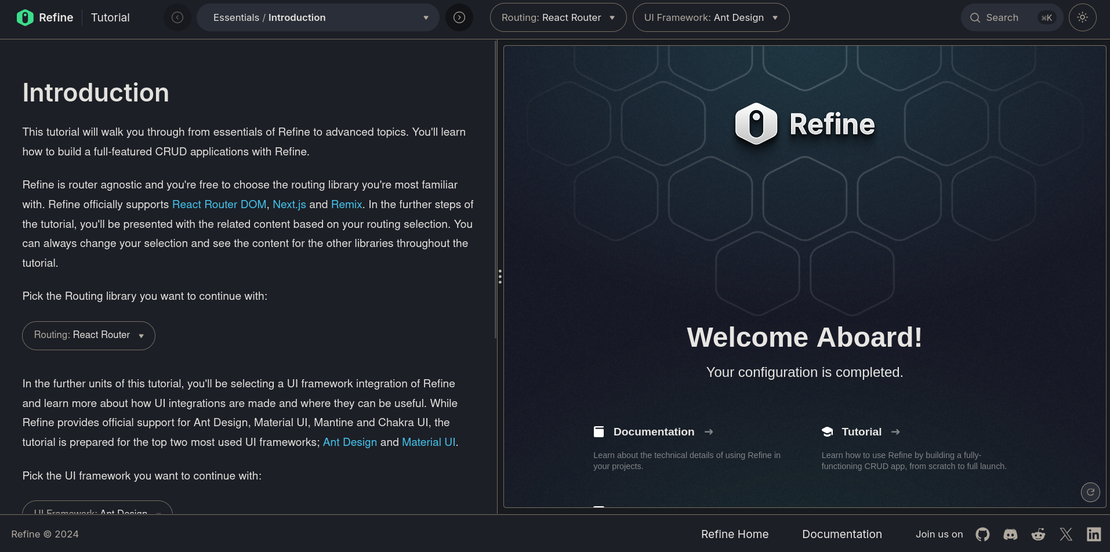
Routing:
Now we’ve learned the data fetching essentials and basics of authentication in Refine. In this unit, we’ll learn how to add a router provider to our app and the features we’re unlocking with a router provider.
- How to use Refine’s router integrations,
- How to define resources and why it’s important to define them,
- Using the inferred parameters from the URL in our hooks,
- Using Refine’s hooks to handle navigation between any action of any resource,
- Handling redirections from auth provider and forms,
- Syncing the state of the table with the location.
UI Libraries:
In the previous unit, we learned about the router integrations of Refine. Now, we’ll dive into its UI integrations, layouts, CRUD view components, and hooks to build a CRUD application with Refine and Ant Design.
- Added ConfigProvider
- ThemeedLayout2
So through out the tutorial the UI was weird in this section the UI was created and beautiful dashboard appeared.
Next Step
Using Refine's Inferencer package to generate views for our resources,- Using Refine’s CLI and learn about its features,
- Using Refine’s Devtools to monitor and debug your queries and mutations.
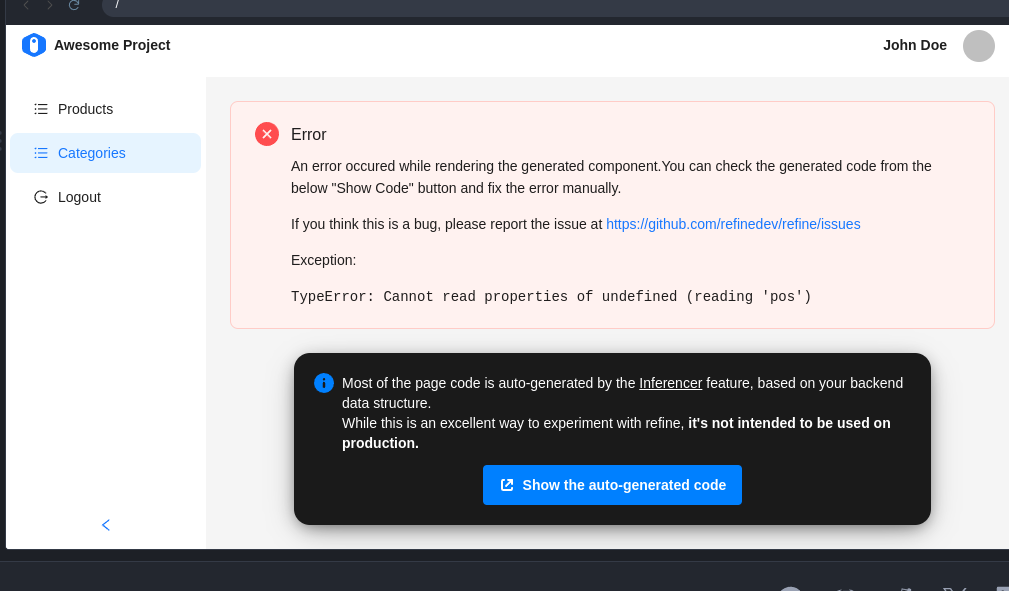
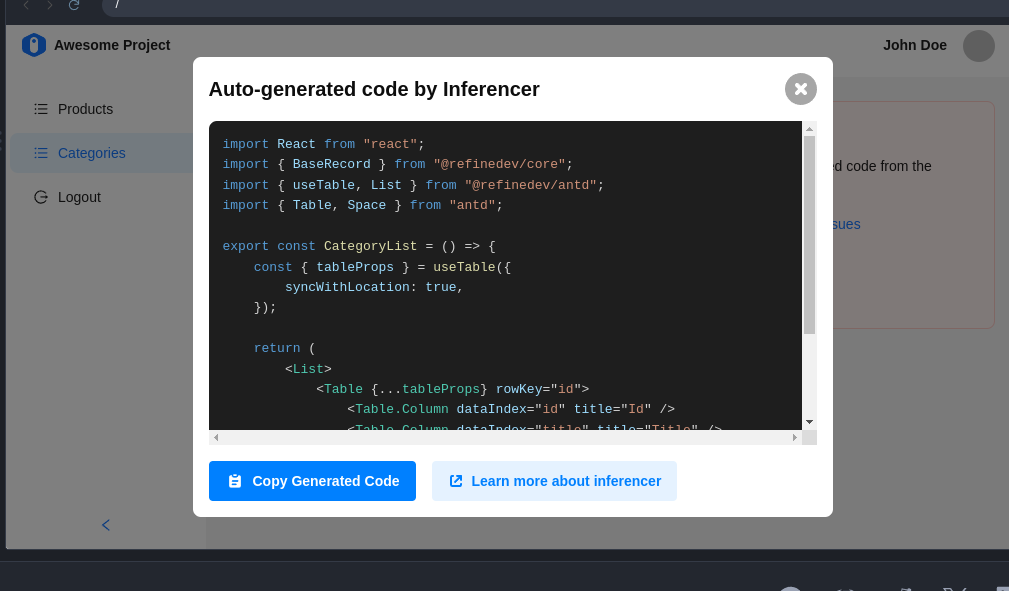
Using Inferencer
Refine’s @refinedev/inferencer package can be used to scaffold initial code for your resource pages based on API responses.
This is a cool feature!
You don’t have to think new layout or something.
Using CLI
Inside package.json
{
  "scripts": {
    "dev": "refine dev",
    "build": "refine build",
    "start": "refine start",
    "refine": "refine"
  }
}
npm run refine add resource categories
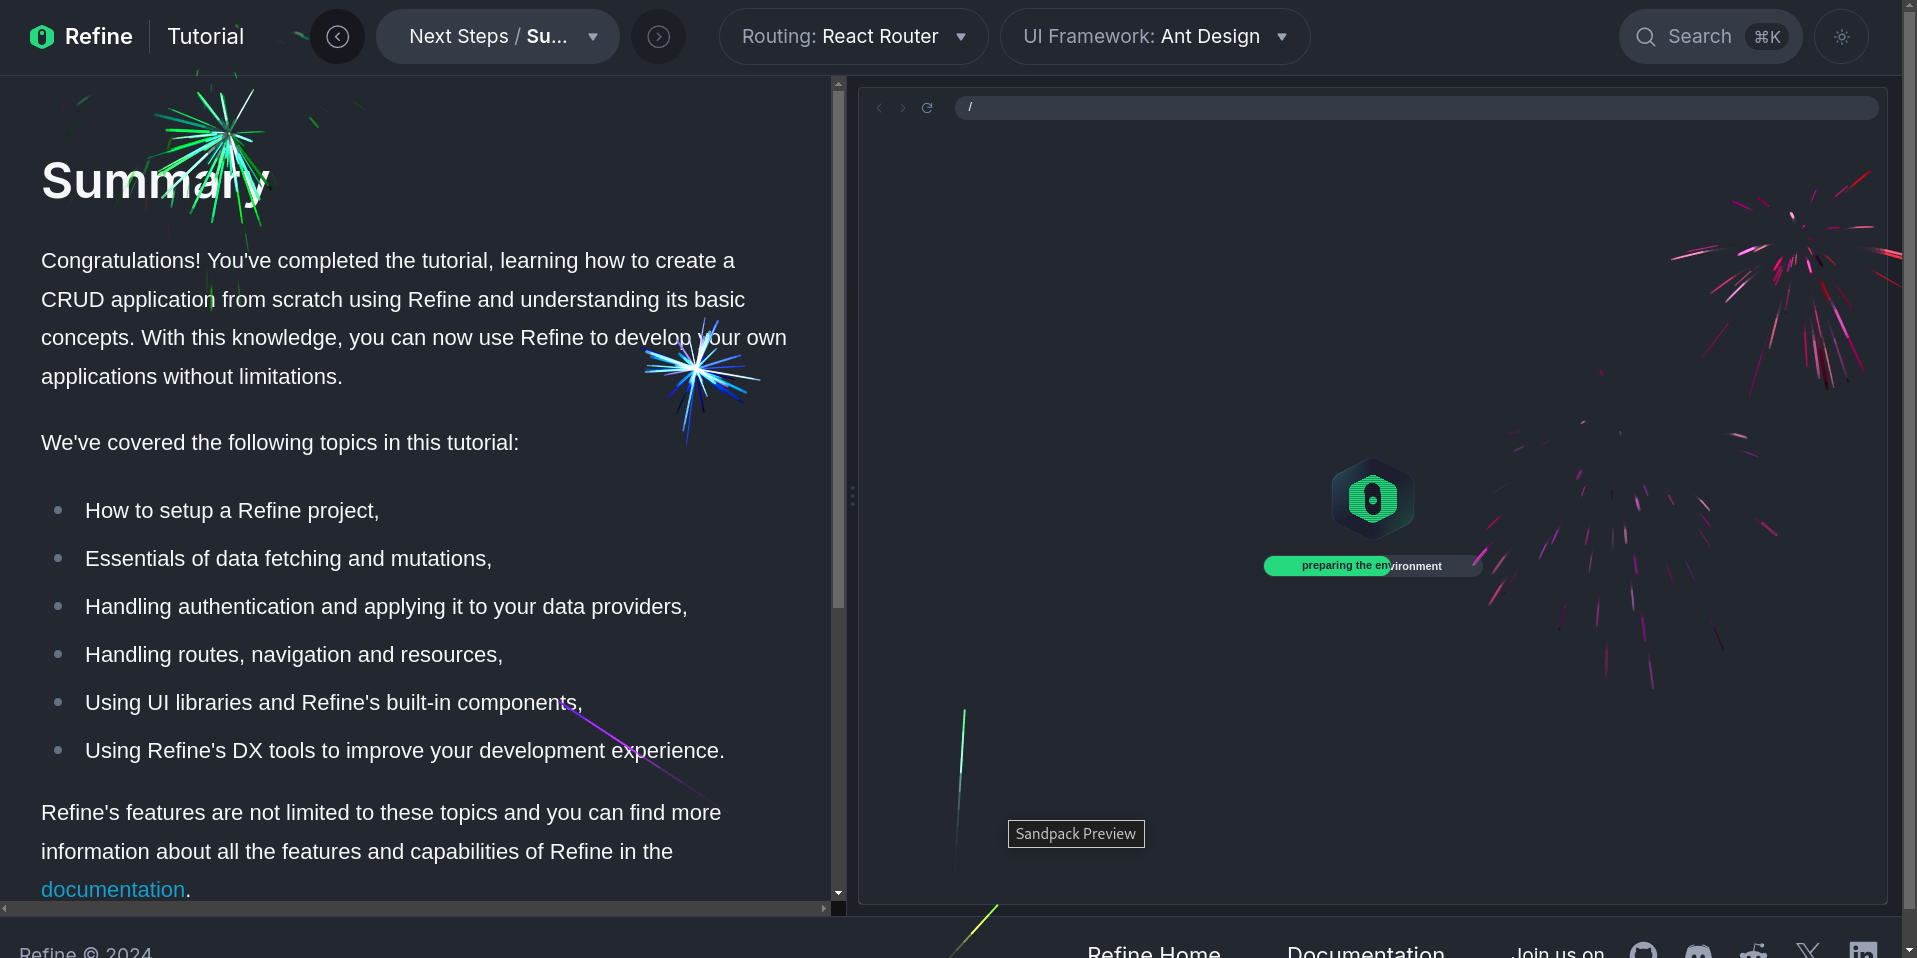
Fireworks!!!!