Refine PWA
- Atul
- Programming
- December 12, 2024
Table of Contents
Refine blog link
What is a PWA?
PWA stands for progressive web application. It is an application built with web technologies such as HTML, CSS, and JavaScript. However, it also delivers functionalities and emulates the characteristics of a native application.
PWAs offer features that make them operate both as a web page and a mobile application with access to native-like features such as push notifications, offline mode, and much more.
Unlike actual native applications, PWAs are not difficult to develop. With just an addition of a service worker and a manifest to an existing web page, you can create an application that not only lives on the but also serve as a native application that is platform-agnostic without having to learn programming languages that are specific to such platforms.
PWA is a good choice for e-commerce operators that want to get on the mobile-first e-commerce bandwagon without having to go through the troubles of integrating with different app stores. While also retaining the perks a web page has to offer, such as discoverability via search engines and Responsiveness.
Project Setup
Although it is possible to integrate Refine into an existing Next.js project, it is recommended to set up a project using the create refine-app command-line interface (CLI), as it sets things up according to your preferences.
Open up your command line tool, cd to your folder of choice, and run the following command to bootstrap a Next.js Refine template:
npm create refine-app@latest refine-storefront
After running the command, you’ll be prompted to choose your preferences for the project. Select the following options to proceed:
 __________________________________________
/ They asked for a robust B2B solution. We \
\ heard 'time to shine with Refine'!       /
 ------------------------------------------
        \   ^__^
            ■-■¬\_______
            (__)\       )\/\
                ||----w |
                ||     ||
✔ Downloaded remote source successfully.
✔ Choose a project template · refine-nextjs
✔ What would you like to name your project?: · refine-storefront
✔ Choose your backend service to connect: · data-provider-custom-json-rest
✔ Do you want to use a UI Framework?: · no
✔ Do you want to add example pages?: · no
✔ Do you need any Authentication logic?: · auth-provider-auth0
✔ Choose a package manager: · yarn
Packages to add :
npm i -D tailwindcss postcss autoprefixer
npm i next-pwa
Then you’ll need to configure tailwind on the project.
I feel there is some issue here, the blog is written for page router but now refine creates an app router project.
Refine core setup
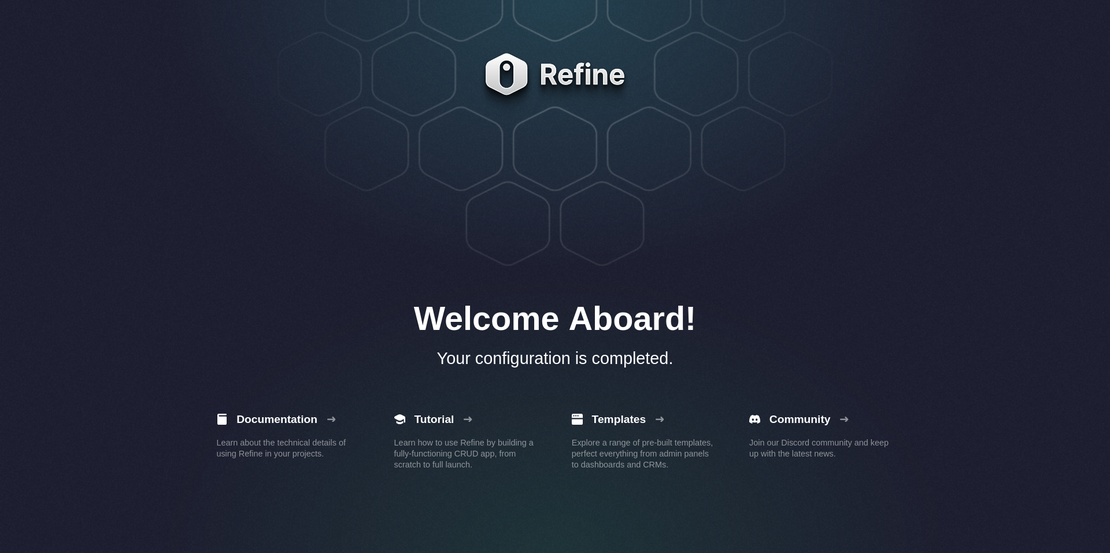
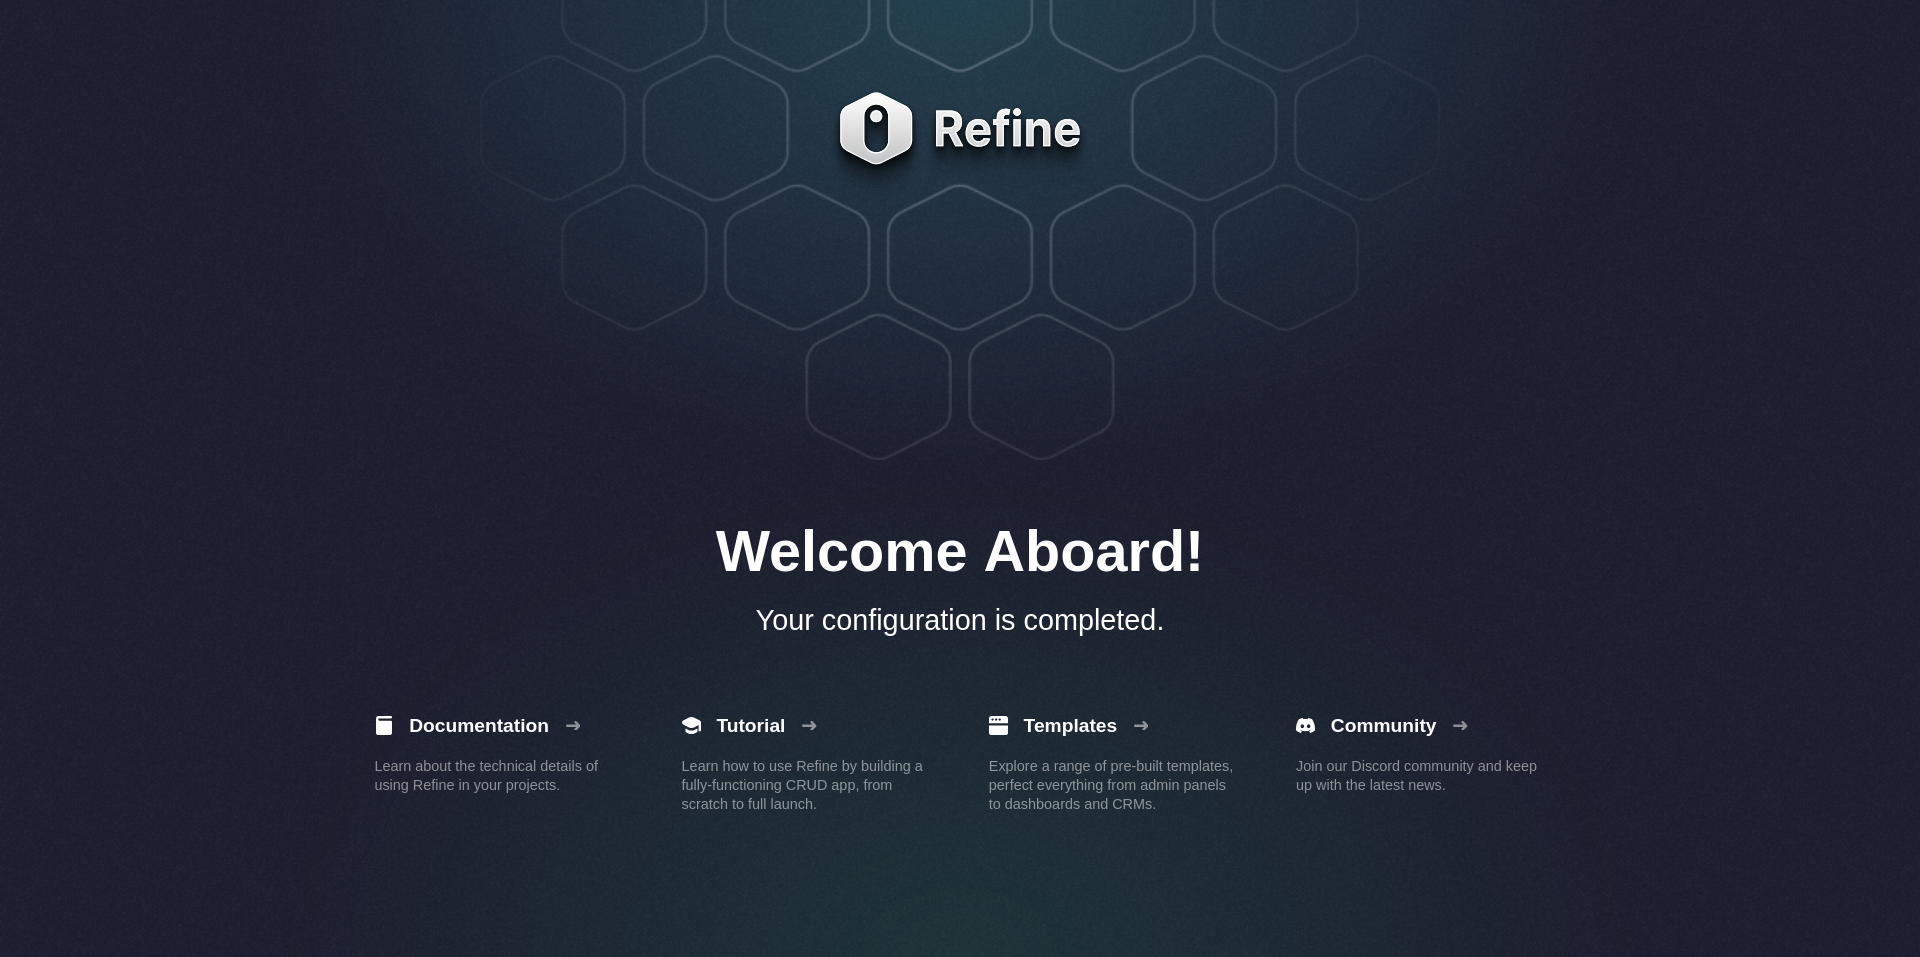
create refine-app Next.js template is pre-configured with Refine out of the box, so all we have to do now is to complete the setup by adding a layout, resources, and data provider to the Refine component.
As a first step, navigate to the _app.tsx
This section here shows the code which is in /src/app/_refine_context.tsx
/src/app/_refine_context.tsx
export const RefineContext = (
  props: React.PropsWithChildren<RefineContextProps>
) => {
  return (
    <SessionProvider>
      <App {...props} />
    </SessionProvider>
  );
};
/src/app/layout.tsx
export default function RootLayout({
  children,
}: Readonly<{
  children: React.ReactNode;
}>) {
  return (
    <html lang="en">
      <body>
        <Suspense>
          <RefineContext>{children}</RefineContext>
        </Suspense>
      </body>
    </html>
  );
}
/src/app/page.tsx
export default function IndexPage() {
  return (
    <Suspense>
      <WelcomePage />
    </Suspense>
  );
}
Adding a Data provider
Data providers are hooks that Refine use to communicate with APIs. They act as adapters that make HTTP requests to different APIs and return response data using predefined methods.
By default data provider is setup in Refine boilerplate app.
src/providers/data-provider/index.ts
Just make sure that
const API_URL = "https://api.fake-rest.refine.dev";
Adding Resources
The resources prop is used to map a specific endpoint of the provided API to Refine. The prop takes an array of properties, such as the name and list property.
resources={[{ name: “endpoint name”, list: “/list”, … }]}
The name property is the most important resource property. It is used to specify an endpoint from the provided API, which Refine, then automatically creates a route for our app.
For example, if we add a “products” value to the name property like so:
resources={[{ name: “products” }]}
Refine will utilize the /products endpoint from the API and append it to our URL: http://localhost:3000/products.
function MyApp({ Component, pageProps }: AppProps): JSX.Element {
  return (
    <Refine
      // ...
      resources={[{ name: "products", list: "/" }]}
    >
      {renderComponent()}
    </Refine>
  );
}
Modify the RootLayout:
export default function RootLayout({
  children,
}: Readonly<{
  children: React.ReactNode;
}>) {
  return (
    <html lang="en">
      <body>
        <Suspense>
          <RefineContext>
            <div className="bg-red">
              <div className="sticky top-0 z-50 flex items-center justify-between bg-[#fff] px-24 py-8">
                <a href="https://refine.dev">
                  <img src="./refine_logo.png" alt="refine logo" />
                </a>
                <button className="mb-2 mt-2 w-fit rounded bg-[#042940] px-8 py-2 text-white outline outline-offset-2 outline-[#D6D58E]">
                  Cart
                </button>
              </div>
              <div className="grid-rows-3">{children}</div>
            </div>
            {/* {children} */}
          </RefineContext>
        </Suspense>
      </body>
    </html>
  );
}
Add image at /public/ too.
Using Next.js SSR
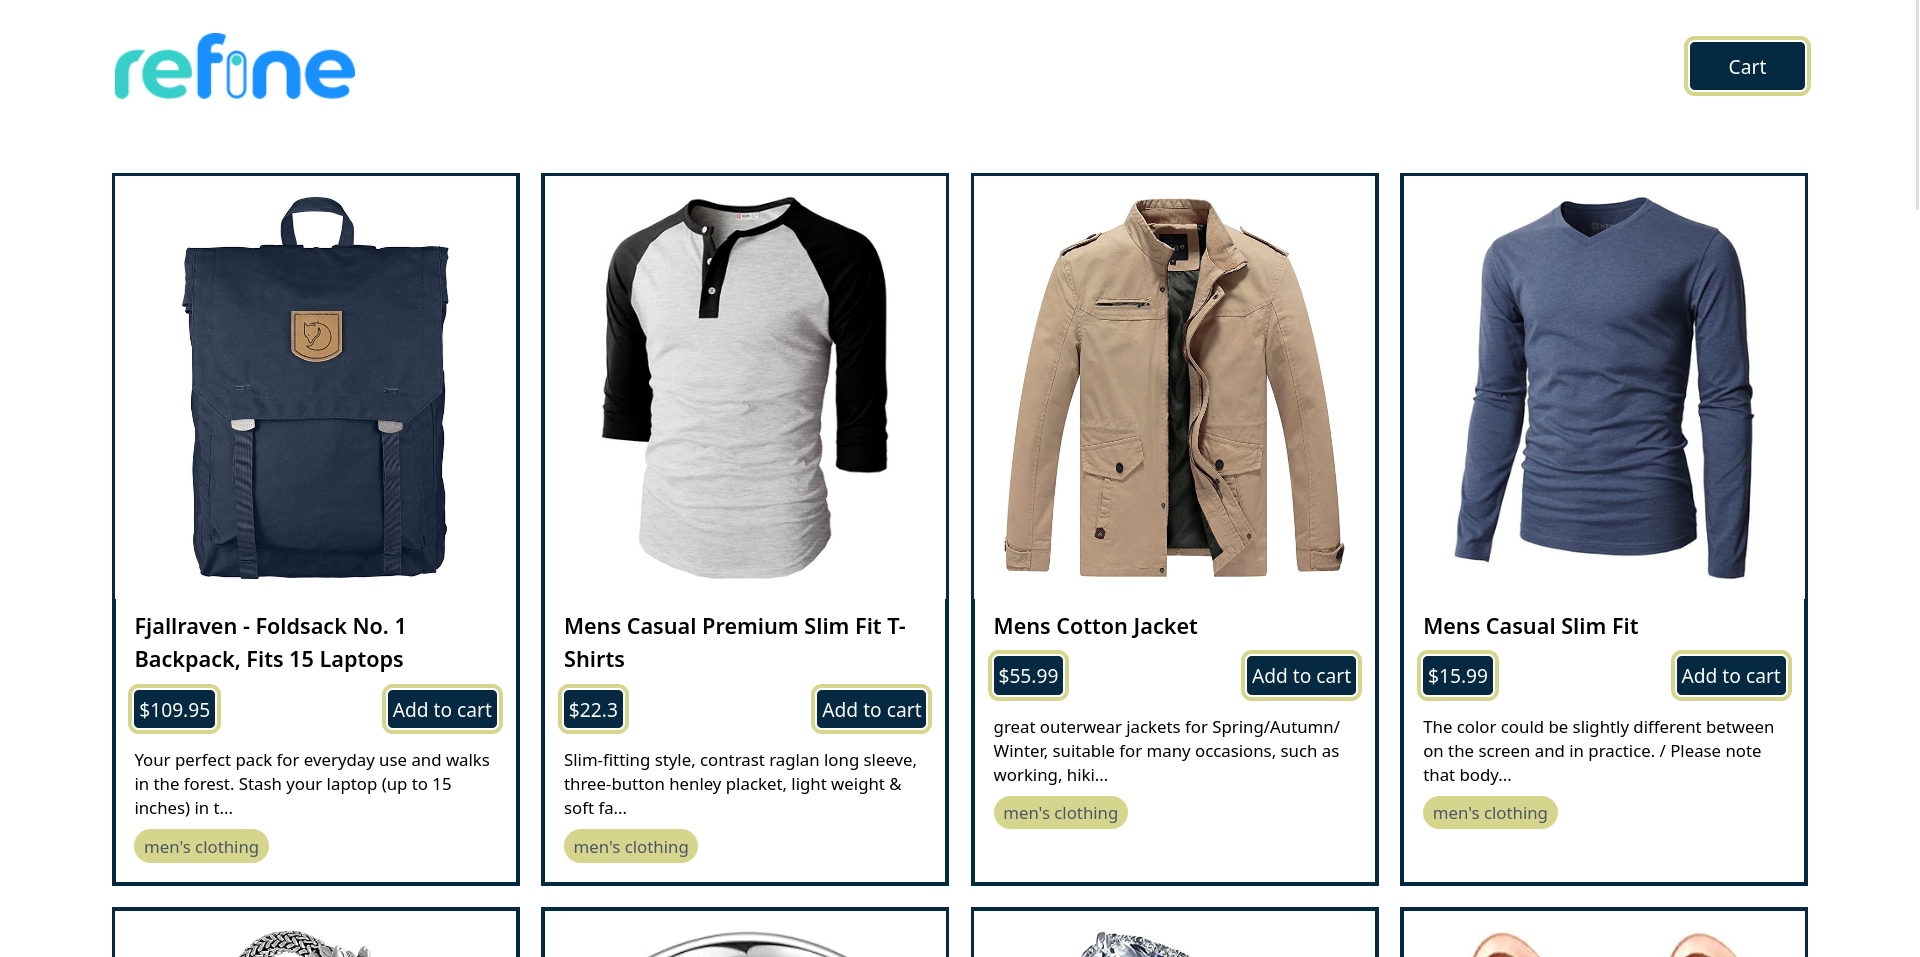
Refine handles data management automatically out of the box. It uses TanStack Query under the hood to fetch and manage predefined data from APIs.
This way, we don’t have to write data-fetching logic because the content of the API endpoint that we added to the Refine component earlier will be readily available to every component in the application via hooks such as useTable and Typography.
However, to leverage Next.js’ pre-rendering features (SSR or SSG), we’d have to manually fetch the data using a Refine dataProvider from a getServerSideProps or getStaticProps function.
TanStack seems something interesting!!
This is what I came up with.
Sorry Refine I didn’t use your stuff, useTable, tableQuery
"use client";

import ProductCards from "@components/ProductCards";
import { GetListResponse, useTable } from "@refinedev/core";
import { Suspense, useEffect, useState } from "react";
interface IProduct {
  id: number;
  title: string;
  price: number;
  description: string;
  category: string;
  image: string;
}

interface IndexPageProps {
  products: IProduct[];
}

export default function IndexPage({ products }: IndexPageProps) {
  const [data, setData] = useState<IProduct[]>(products);

  useEffect(() => {
    const fetchData = async () => {
      const response = await fetch("https://fakestoreapi.com/products");
      const data = await response.json();

      console.log("data", data);
      setData(data);
    };
    fetchData();
  }, []);

  return (
    <Suspense fallback={<div>Loading</div>}>
      <div className="my-8 grid grid-cols-1 md:grid-cols-2 lg:grid-cols-3 xl:grid-cols-4 gap-6 px-4 md:px-12 lg:px-24">
        {data &&
          data.map((product) => {
            return (
              <ProductCards
                key={product.id}
                title={product.title}
                category={product.category}
                description={product.description}
                cardImage={product.image}
                price={product.price}
              />
            );
          })}
      </div>
    </Suspense>
  );
}
I actualky didn’t get it:
import { GetServerSideProps } from "next";
import dataProvider from "@refinedev/simple-rest";
import { GetListResponse, useTable } from "@refinedev/core";
import ProductCards from "@components/ProductCards";

interface IProduct {
  id: number;
  title: string;
  price: number;
  description: string;
  category: string;
  image: string;
}
type ItemProp = {
  products: GetListResponse<IProduct>;
};

const ProductList: React.FC<ItemProp> = ({ products }) => {
  const { tableQuery } = useTable<IProduct>({
    resource: "products",
    queryOptions: {
      initialData: products,
    },
  });

  return (
    <div className="my-8 grid grid-cols-4 gap-6 px-24">
      {tableQuery.data?.data.map((product) => {
        return (
          <ProductCards
            key={product.id}
            title={product.title}
            category={product.category}
            description={product.description}
            cardImage={product.image}
            price={product.price}
          />
        );
      })}
    </div>
  );
};

export default ProductList;

export const getServerSideProps: GetServerSideProps = async (context) => {
  const data = await dataProvider("https://fakestoreapi.com").getList<IProduct>(
    {
      resource: "products",
    }
  );
  return {
    props: { products: data },
  };
};
getServerSideProps is not being used in Nextjs.
Generating PWA manifest
The first thing we need to do is to create a manifest for our application. This is a JSON file that contains metadata such as the name of the app or the start URL, which defines the look and behavior of our PWA when installed as an application. You should be familiar with the concept if you’ve built a chrome extension before.
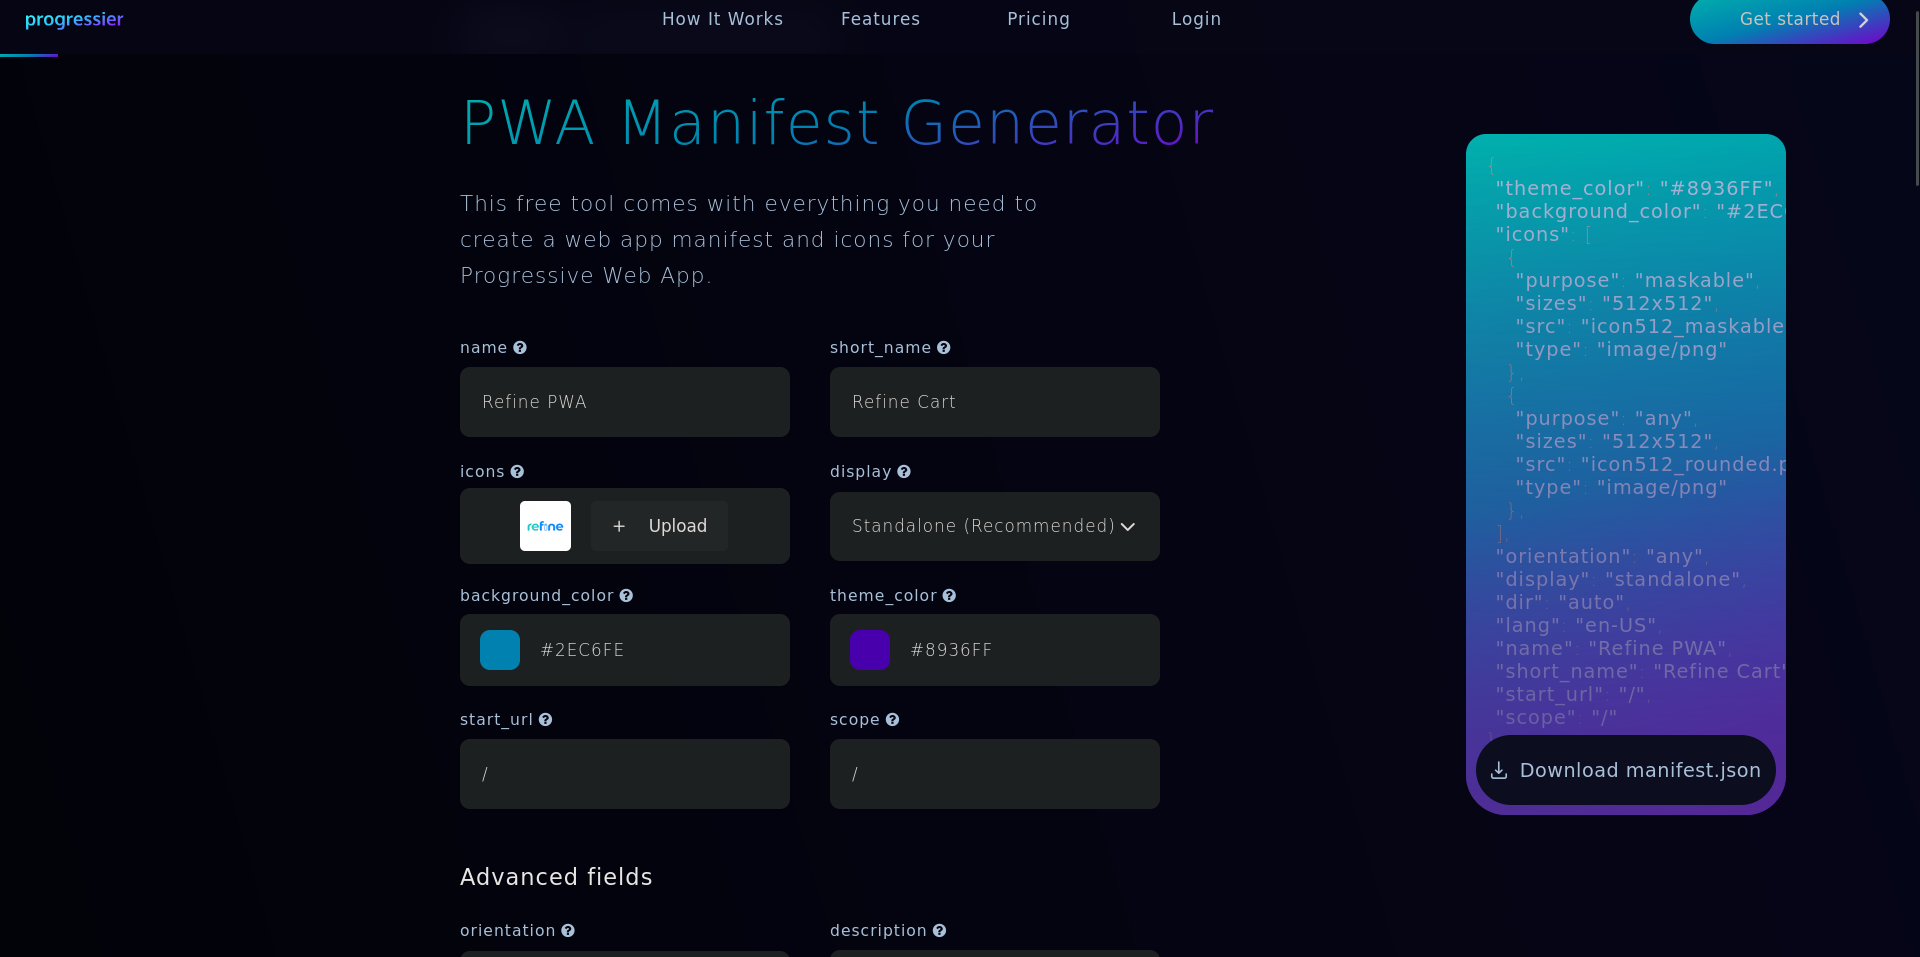
https://progressier.com/pwa-manifest-generator
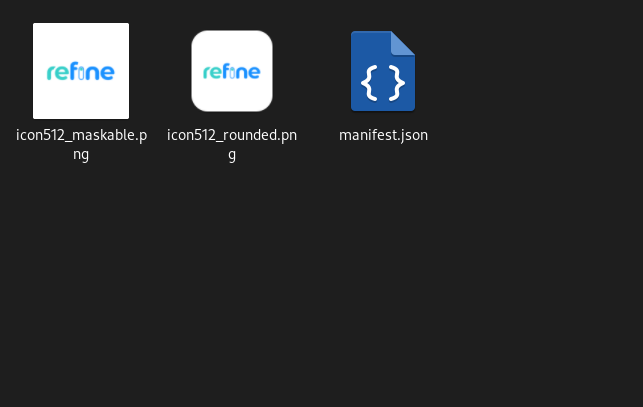
After downloading the file, extract it and rename the manifest file from the .webmanifest format to a .json format.
Before renaming
manifest.webmanifest
After renaming
manifest.json
Manifest.json
{
  "theme_color": "#8936FF",
  "background_color": "#2EC6FE",
  "icons": [
    {
      "purpose": "maskable",
      "sizes": "512x512",
      "src": "icon512_maskable.png",
      "type": "image/png"
    },
    {
      "purpose": "any",
      "sizes": "512x512",
      "src": "icon512_rounded.png",
      "type": "image/png"
    }
  ],
  "orientation": "any",
  "display": "standalone",
  "dir": "auto",
  "lang": "en-US",
  "name": "Refine PWA",
  "short_name": "Refine Cart",
  "start_url": "/",
  "scope": "/"
}
Configuring PWA
Next, copy the manifest.json file and the generated icons to the public folder of your project.
Then in layout add the links and meta :
 <html lang="en">
      <head>
        <link rel="manifest" href="/manifest.json" />
        <link rel="apple-touch-icon" href="/icon512_rounded.png" />
        <meta name="theme-color" content="#042940" />
      </head>
      <body>
        <Suspense>
Update next.config.mjs
const withPWA = require("next-pwa")({
  dest: "public",
  register: true,
  skipWaiting: true,
});

const nextConfig = withPWA({
  experimental: {
    newNextLinkBehavior: true,
  },
});

module.exports = nextConfig;
This cannot be used now so add,
import withPWA from "next-pwa";

const nextConfig = withPWA({
  dest: "public",
  register: true,
  skipWaiting: true,
  experimental: {
    newNextLinkBehavior: true,
  },
});

export default nextConfig;
Here you will need to install the types too
npm i --save-dev @types/next-pwa
npm run build
> refine-storefront@0.1.0 build
> refine build

 ⚠ Invalid next.config.mjs options detected:
 ⚠     Unrecognized key(s) in object: '0', '1', '2', '3', '4', '5', '6', '7', '8', '9', '10', '11', '12', '13', '14', '15', '16', '17', '18', '19', '20', '21'
 ⚠ See more info here: https://nextjs.org/docs/messages/invalid-next-config
  ▲ Next.js 14.2.20

   Creating an optimized production build ...
> [PWA] Compile server
> [PWA] Compile server
> [PWA] Compile client (static)
> [PWA] Auto register service worker with: /home/atulyaraaj/Desktop/Projects/Learning-Refine/PWA/refine-storefront/node_modules/next-pwa/register.js
> [PWA] Service worker: /home/atulyaraaj/Desktop/Projects/Learning-Refine/PWA/refine-storefront/public/sw.js
> [PWA]   url: /sw.js
> [PWA]   scope: /
 ✓ Compiled successfully
   Linting and checking validity of types ...

./src/app/layout.tsx
31:19  Warning: Using `<img>` could result in slower LCP and higher bandwidth. Consider using `<Image />` from `next/image` to automatically optimize images. This may incur additional usage or cost from your provider. See: https://nextjs.org/docs/messages/no-img-element  @next/next/no-img-element

./src/app/login/page.tsx
21:9  Warning: Using `<img>` could result in slower LCP and higher bandwidth. Consider using `<Image />` from `next/image` to automatically optimize images. This may incur additional usage or cost from your provider. See: https://nextjs.org/docs/messages/no-img-element  @next/next/no-img-element

./src/components/ProductCards.tsx
21:9  Warning: Using `<img>` could result in slower LCP and higher bandwidth. Consider using `<Image />` from `next/image` to automatically optimize images. This may incur additional usage or cost from your provider. See: https://nextjs.org/docs/messages/no-img-element  @next/next/no-img-element

info  - Need to disable some ESLint rules? Learn more here: https://nextjs.org/docs/basic-features/eslint#disabling-rules
   Collecting page data ...
   Generating static pages (0/6) ...
   Generating static pages (1/6)
   Generating static pages (2/6)
   Generating static pages (4/6)
 ✓ Generating static pages (6/6)
   Finalizing page optimization ...
   Collecting build traces ...

Route (app)                              Size     First Load JS
┌ ○ /                                    943 B          88.1 kB
├ ○ /_not-found                          142 B          87.3 kB
├ ƒ /api/auth/[...nextauth]              0 B                0 B
├ ○ /icon.ico                            0 B                0 B
└ ƒ /login                               503 B           175 kB
+ First Load JS shared by all            87.2 kB
  ├ chunks/117-31b4a50f0374ac2c.js       31.6 kB
  ├ chunks/fd9d1056-980bd9d09b8895cd.js  53.6 kB
  └ other shared chunks (total)          1.96 kB


○  (Static)   prerendered as static content
ƒ  (Dynamic)  server-rendered on demand
Now the build seems different with PWA and some errors on it.
After building npm run start then visit url in Chromium based browser


LOL it is visible inside my App launcher too!!
Great!!
Project source code from Refine.
My sourced code on Codeberg.