Getting Started Raspberry-pi Pico
- Atul
- Embedded systems
- April 15, 2024
Table of Contents
So I’m on Fedora based Nobara distro let’s see how it goes.
Following this article.
Step 1:
Install Thonny:
$ flatpak install org.thonny.Thonny

https://projects.raspberrypi.org/en/projects/getting-started-with-the-pico/3
This page shows to connect Raspberrypi too, but I only have Pico with me.
Now going through this article by TomsHardware.
Step 2:
Tom redirected to this official site.
Download this file.
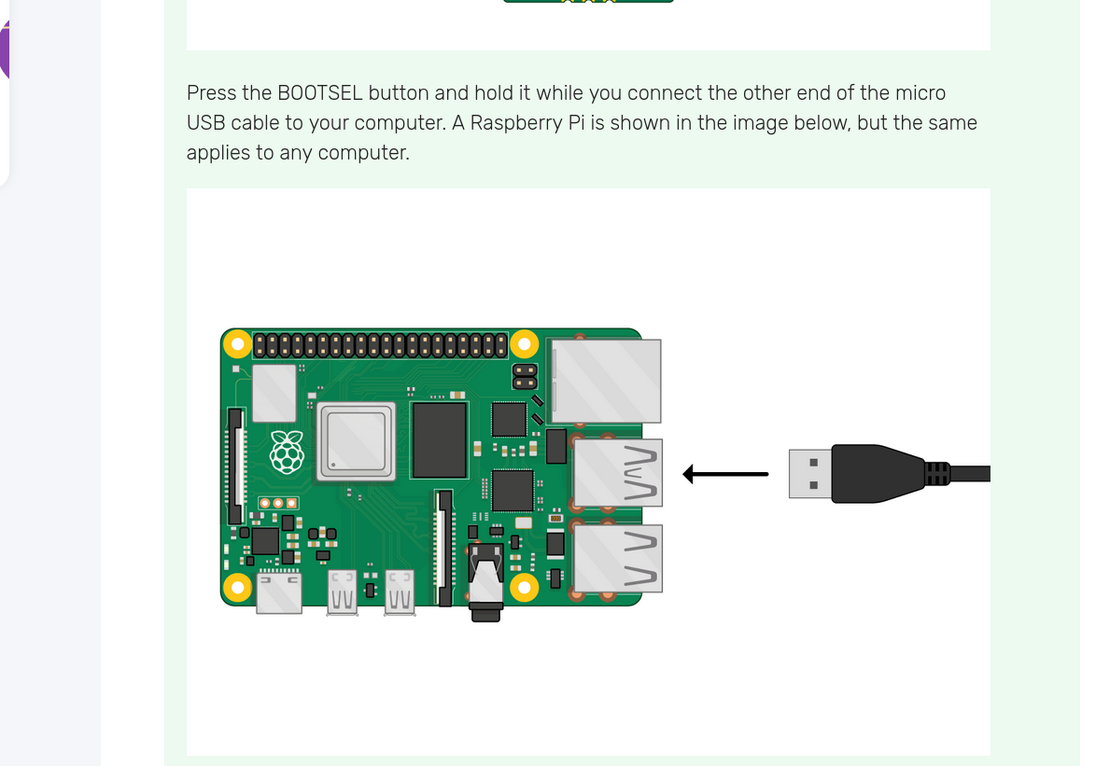
Hold the Boot button and parallely plugin the USB port to system.
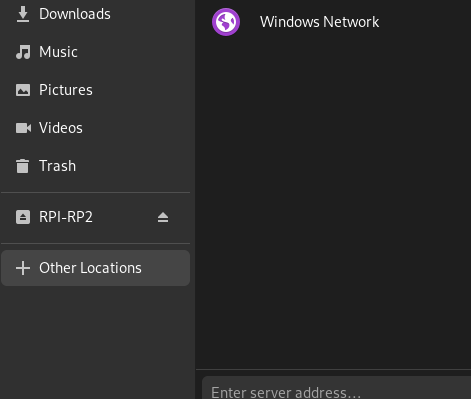
It should mount like this.
Drap and drop the file into RPL.
Step 3:
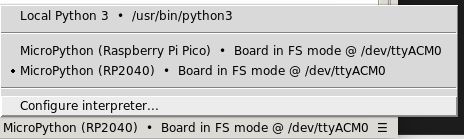
Check the Thonny IDE.
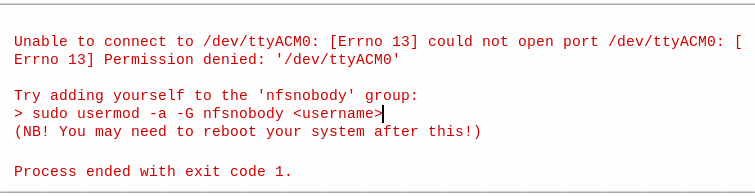
It is showing error while selecting the Raspi.
I also got this Book
You can install minicom to access the serial port:
$ sudo apt install minicom
and then open it as such:
$ minicom -o -D /dev/ttyACM0
Where the -D /dev/ttyACM0 is pointing minicom at MicroPython’s USB serial port, and the -o flag essentially means "just do
it". There’s no need to worry about baud rate, since this is a virtual serial port.
Press the enter key a few times in the terminal where you opened minicom. You should see this:
>>>
This is a prompt. MicroPython wants you to type something in, and tell it what to do.
This is what the book said but I’m unable to do it.
Solution for error: OSError: [Errno 13] Permission denied: ‘/dev/ttyACM0’ - using pyserial from Python to Arduino though I’m working on Raspi it’s pretty much the same.
$ sudo chmod 666 /dev/ttyACM0
So this helped to remove the error from Thonny.
Now the minicom thing is also working, will deal with it later.
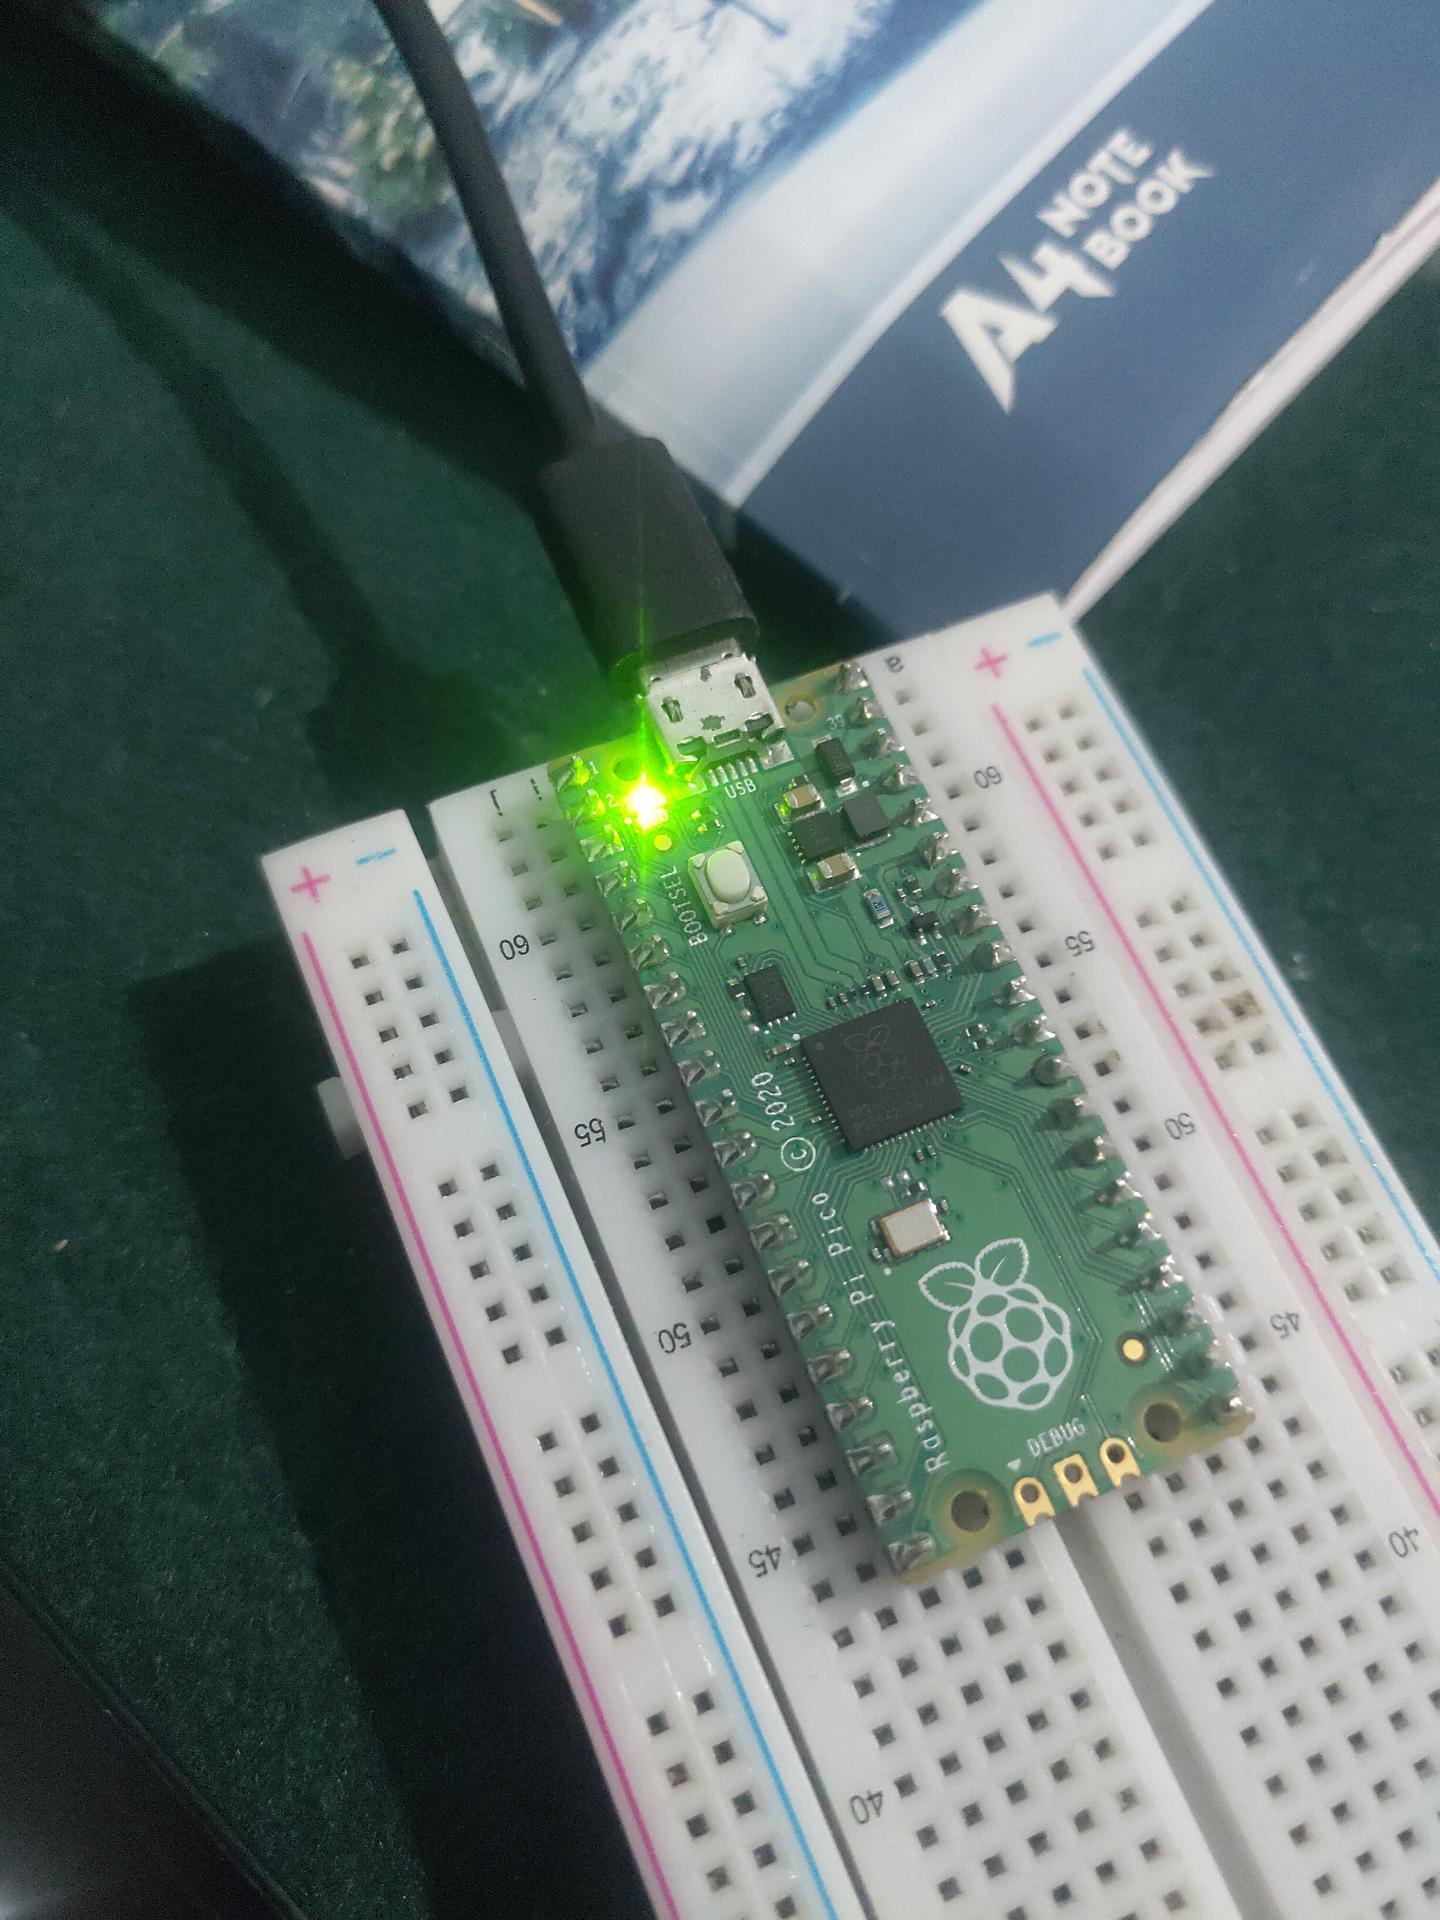
Step 4:
from machine import Pin, Timer
led = Pin(25, Pin.OUT)
timer = Timer()

def blink(timer):
    led.toggle()

timer.init(freq=2.5, mode=Timer.PERIODIC, callback=blink)
Paste this code to Thonny and press run!
Your onboard LED should be blinking now.
So yeah! that’s it for now.