React Native
- Atul
- Technology , Web , Free software , The big o community , React native
- January 4, 2026
Table of Contents
React Native
npx create-expo-app@latest
This is where it all begins, you can run this command and get started with RN.
But the environment that you are working on needs to be setup for actual running of the project.
Environment Setup:
Android Studio
- for cli tools and building app
- Emulator
Open JDK
For Ubuntu/Debian:
# Install OpenJDK 11 (Recommended - Open Source)
sudo apt update
sudo apt install openjdk-11-jdk

# Set JAVA_HOME
export JAVA_HOME=/usr/lib/jvm/java-11-openjdk-amd64
export PATH=$JAVA_HOME/bin:$PATH

# Add to ~/.bashrc or ~/.zshrc for persistence
echo 'export JAVA_HOME=/usr/lib/jvm/java-11-openjdk-amd64' >> ~/.bashrc
echo 'export PATH=$JAVA_HOME/bin:$PATH' >> ~/.bashrc
source ~/.bashrc
For Fedora/CentOS/RHEL:
# Install OpenJDK 11 (Recommended - Open Source)
sudo dnf install java-11-openjdk-devel

# If not found in repository, try latest version
sudo dnf install java-latest-openjdk java-latest-openjdk-devel

# Alternative: Install from Adoptium (Eclipse Temurin)
# Add Adoptium repository
sudo tee /etc/yum.repos.d/adoptium.repo > /dev/null <<EOF
[Adoptium]
name=Adoptium
baseurl=https://packages.adoptium.net/artifactory/rpm/fedora/\$releasever/\$basearch
enabled=1
gpgcheck=1
gpgkey=https://packages.adoptium.net/artifactory/api/gpg/key/public
EOF

# Install Java 17 from Adoptium
sudo dnf install temurin-17-jdk

# Set Java 17 as default
sudo alternatives --config java
# Select the temurin-17 option

sudo alternatives --config javac
# Select the temurin-17 option

# Set JAVA_HOME
export JAVA_HOME=/usr/lib/jvm/java-17-temurin
export PATH=$JAVA_HOME/bin:$PATH

# Add to ~/.bashrc or ~/.zshrc for persistence
echo 'export JAVA_HOME=/usr/lib/jvm/java-17-temurin' >> ~/.bashrc
echo 'export PATH=$JAVA_HOME/bin:$PATH' >> ~/.bashrc
source ~/.bashrc
- Android and Java variables needs to setup here.
Getting started:
✅ Your project is ready!

To run your project, navigate to the directory and run one of the following npm commands.

- cd hello-world
- npm run android
- npm run ios # you need to use macOS to build the iOS project - use the Expo app if you need to do iOS development without a Mac
- npm run web
- i prefer
pnpmso,
pnpm start

Starting project at /home/atuld/Desktop/GennextIT/React Native/hello-world
React Compiler enabled
Starting Metro Bundler
▄▄▄▄▄▄▄▄▄▄▄▄▄▄▄▄▄▄▄▄▄▄▄▄▄▄▄
█ ▄▄▄▄▄ █   █▄▀▀▄▀█ ▄▄▄▄▄ █
█ █   █ █ ▀▄ █▀█ ██ █   █ █
█ █▄▄▄█ █▀██▀▀█▀▄██ █▄▄▄█ █
█▄▄▄▄▄▄▄█▄▀▄█ █▄█▄█▄▄▄▄▄▄▄█
█▄ ▀█ ▄▄██▀▀▄▀█▄ ███ ▀▄▄ ▄█
█▄ █▀▄█▄ ▄█▀ ▄██ ▀▀ █▄  ▀██
█ ▀▀█▀▄▄▀ █▄█▄▀▄▀▄▀▄▀▀▄ ▀██
███ █▄▄▄ ▄▄▄█▀██▄▄▄█▄▀ ▀███
█▄▄▄▄▄█▄▄▀ █▄▀█▄▄ ▄▄▄ ▀ ▄▄█
█ ▄▄▄▄▄ █▀██ ▄██▀ █▄█ ▀▀█▀█
█ █   █ █▄███▄▀▄█▄▄ ▄▄▀   █
█ █▄▄▄█ █▀ ██▀█▀▄██▄▀█▀▀ ██
█▄▄▄▄▄▄▄█▄█▄▄▄▄▄████▄▄▄▄▄▄█

› Metro waiting on exp://192.168.1.58:8081
› Scan the QR code above with Expo Go (Android) or the Camera app (iOS)

› Web is waiting on http://localhost:8081

› Using Expo Go
› Press s │ switch to development build

› Press a │ open Android
› Press w │ open web

› Press j │ open debugger
› Press r │ reload app
› Press m │ toggle menu
› shift+m │ more tools
› Press o │ open project code in your editor

› Press ? │ show all commands

Logs for your project will appear below. Press Ctrl+C to exit.
Cool isn’t it?
Download the expo app from here
a : would open up the preview in connected Expo app
i haven’t signed up for Expo account so, we can do it without it for now
w : for the web view
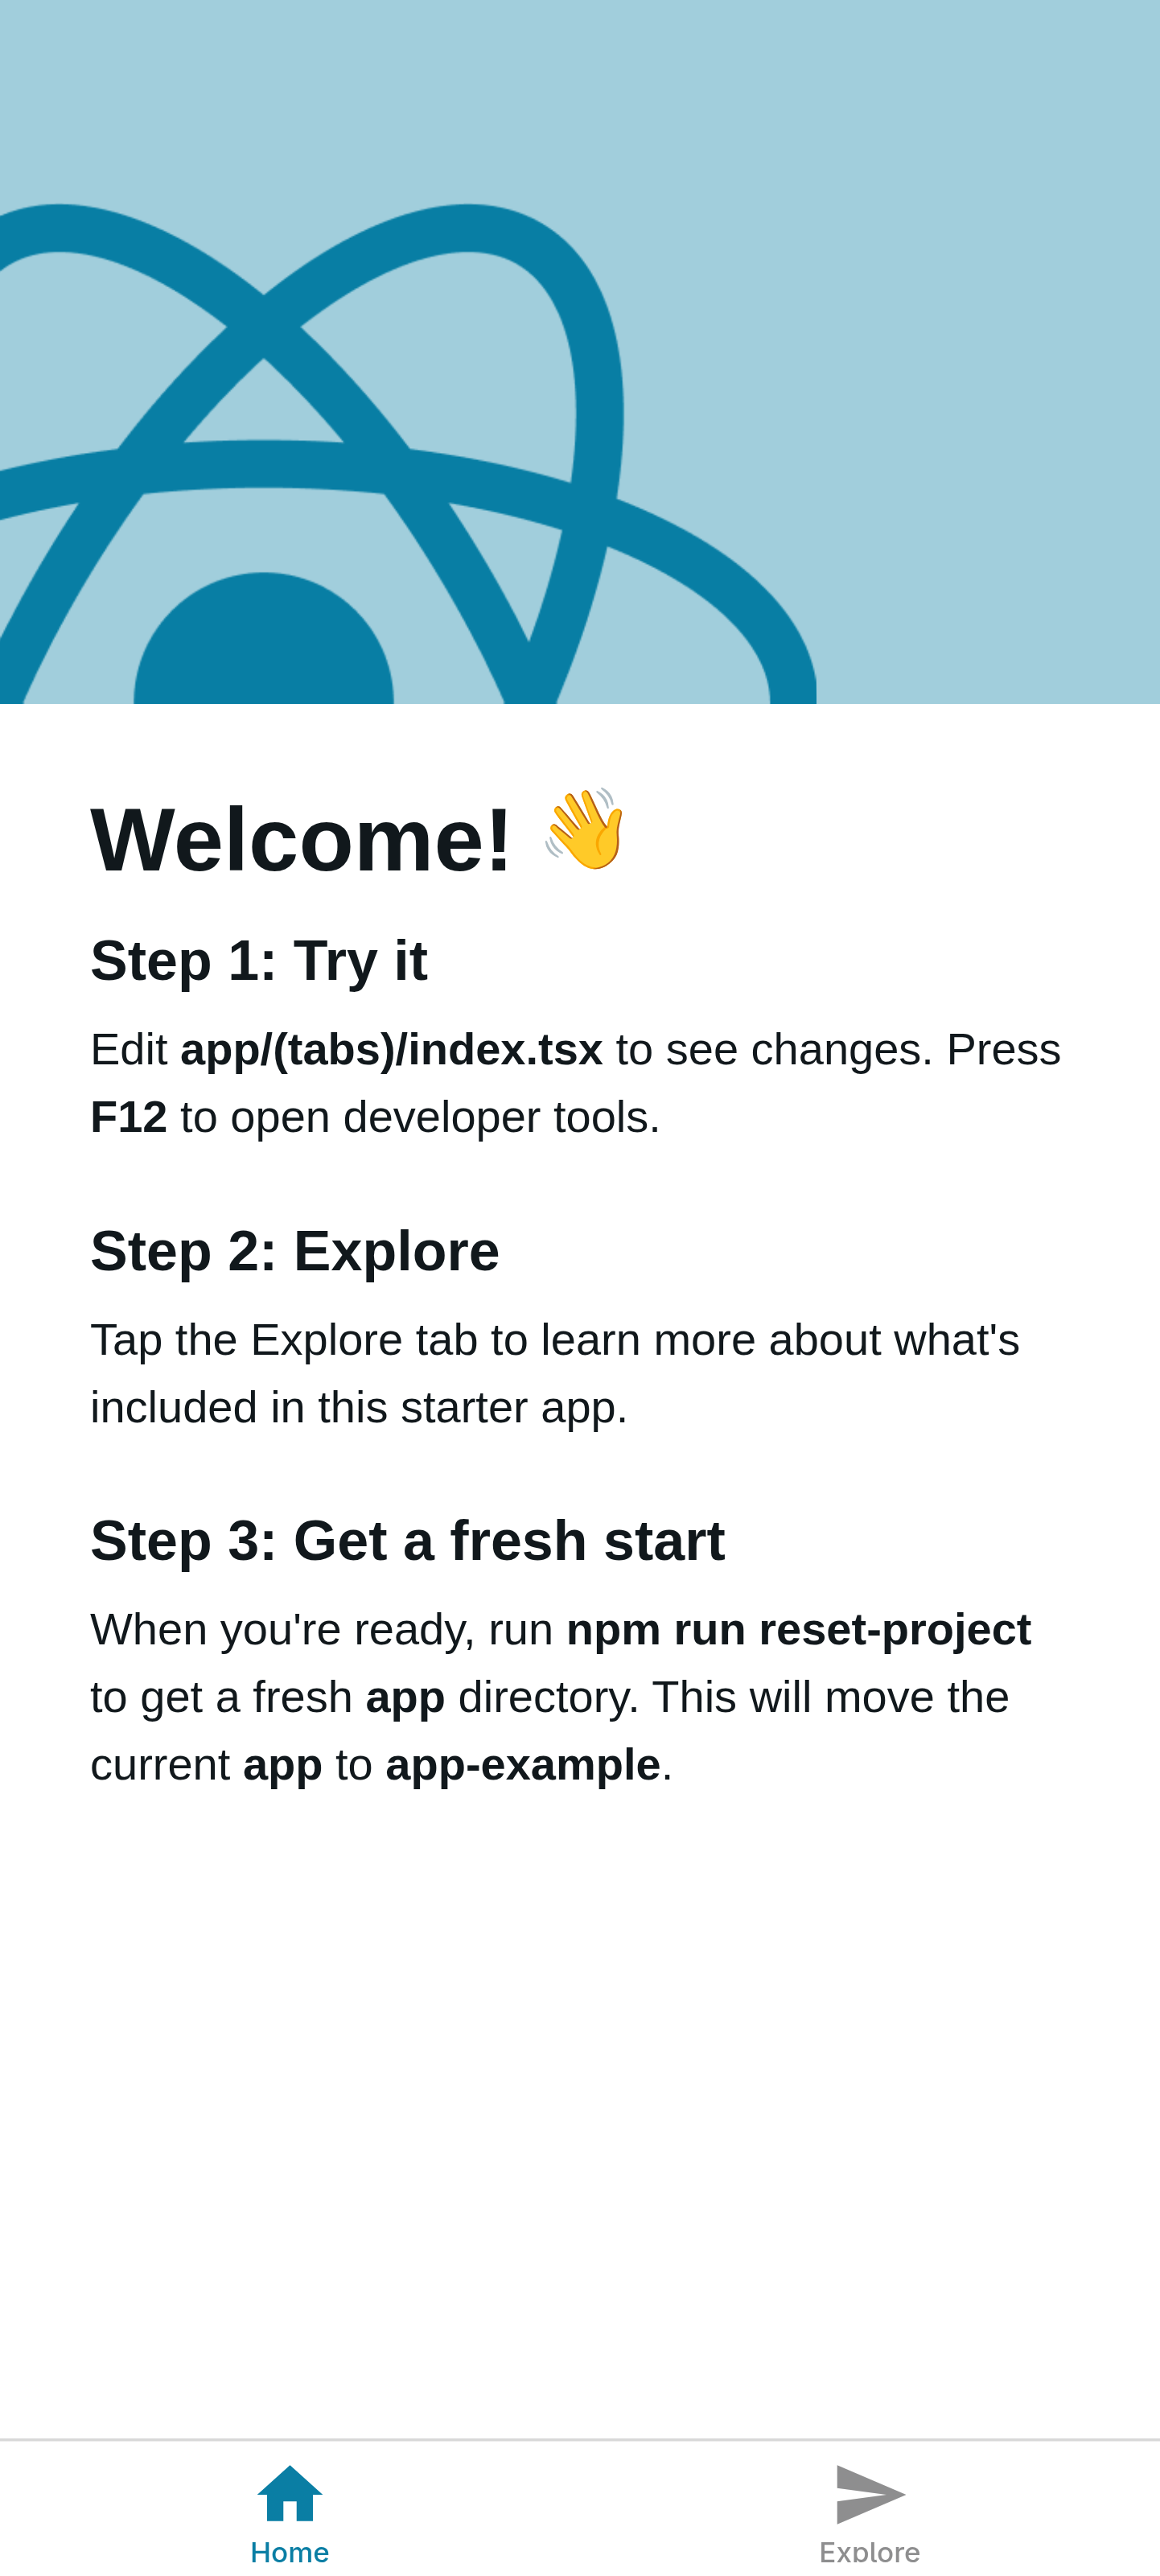
- Here it is, the app
Application:
- If you see the app, it is loaded with many things!
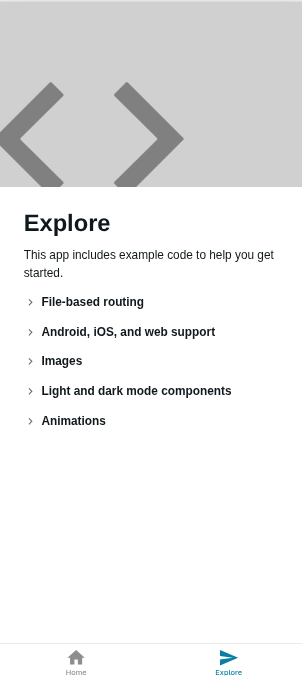
Navigation:
- Home
- Explore
But there is more to it, they are calling it File based Routing:
Inside app/ there is
- _layout.tsx (Root Layout)
- modal.tsx
- (tab) (directory)
_layout.tsx (Stack)
- has mentioned modal and tab
- one file and one directory
- Under Stack Component
inside tab
- _layout.tsx (Tabs)
- index.tsx
- explore.tsx
- _layout.tsx (Tabs)
_layout.tsx
- (tab)
- index
- explore
- modal
- (tab)
In Root Layout there is Stack used and the order matters
- the first item will be visible first
- here (tab) will be on top
pnpm reset-project
- to reset the project files
- now there is nothing but a screen