Zenstack
Table of Contents
I was thinking about how Refine has simplified the frontend, basically the CRUD part of it.
I just randomly searched for “Backend for Refine” and got this article.
I didn’t even read the site’s name and started reading the cool part in that article.
This seems very awesome, I am working on a project, which just requires all the things that the blog was talking about.
I needed RBAC CRUD.
Am I feel Zenstack is the right choice.
A TypeScript toolkit that enhances Prisma ORM with flexible Authorization and auto-generated, type-safe APIs/hooks, simplifying full-stack development
If you will go through the site, the homepage is attractive already!
Here I will be following the blog and change accordingly if I have to.
Getting started with Zen:
Get the extension for Vscode from here. It’ll not work form because I have Vscodium. :(
For that first we need to create a Refine project, So…
Getting started with Refine:
Last year I have delve into Refine a bit, so you can read about it too.
 _____________________________________________
/ Building CRUD apps with Refine? That's      \
| udderly fantastic! Avoid the bull, focus on |
\ the code!                                   /
 ---------------------------------------------
        \   ^__^
            ■-■¬\_______
            (__)\       )\/\
                ||----w |
                ||     ||
✔ Downloaded remote source successfully.
✔ Choose a project template · refine-nextjs
✔ What would you like to name your project?: · project
✔ Choose your backend service to connect: · data-provider-custom-json-rest
✔ Do you want to use a UI Framework?: · antd
✔ Do you want to add example pages?: · antd-example
✔ Do you need any Authentication logic?: · auth-provider-custom
✔ Choose a package manager: · pnpm
✔ Mind sharing your email? (We reach out to developers for free priority support, events, and SWAG kits. We never spam.) ·


Success! Created project at /home/atulyaraaj/Desktop/Projects/TS/project 🚀

Start developing by:

  › cd /home/atulyaraaj/Desktop/Projects/TS/project
  › pnpm dev

  › Join us at https://discord.gg/refine
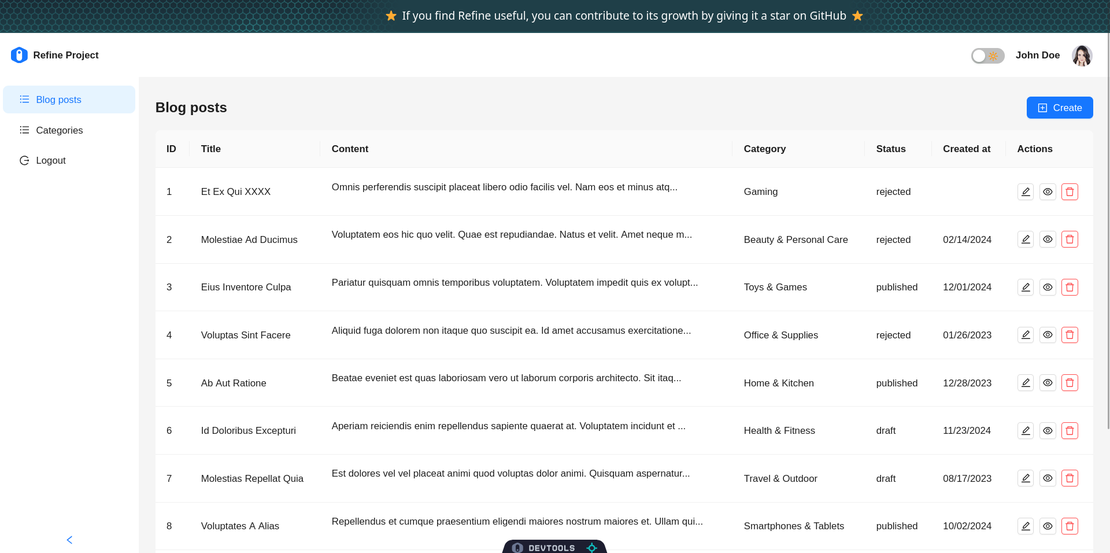
Let’s see if everything is okay!
pnpm dev
While writing this post, the Next and React are at 14, 18 versions respectively in Refine.
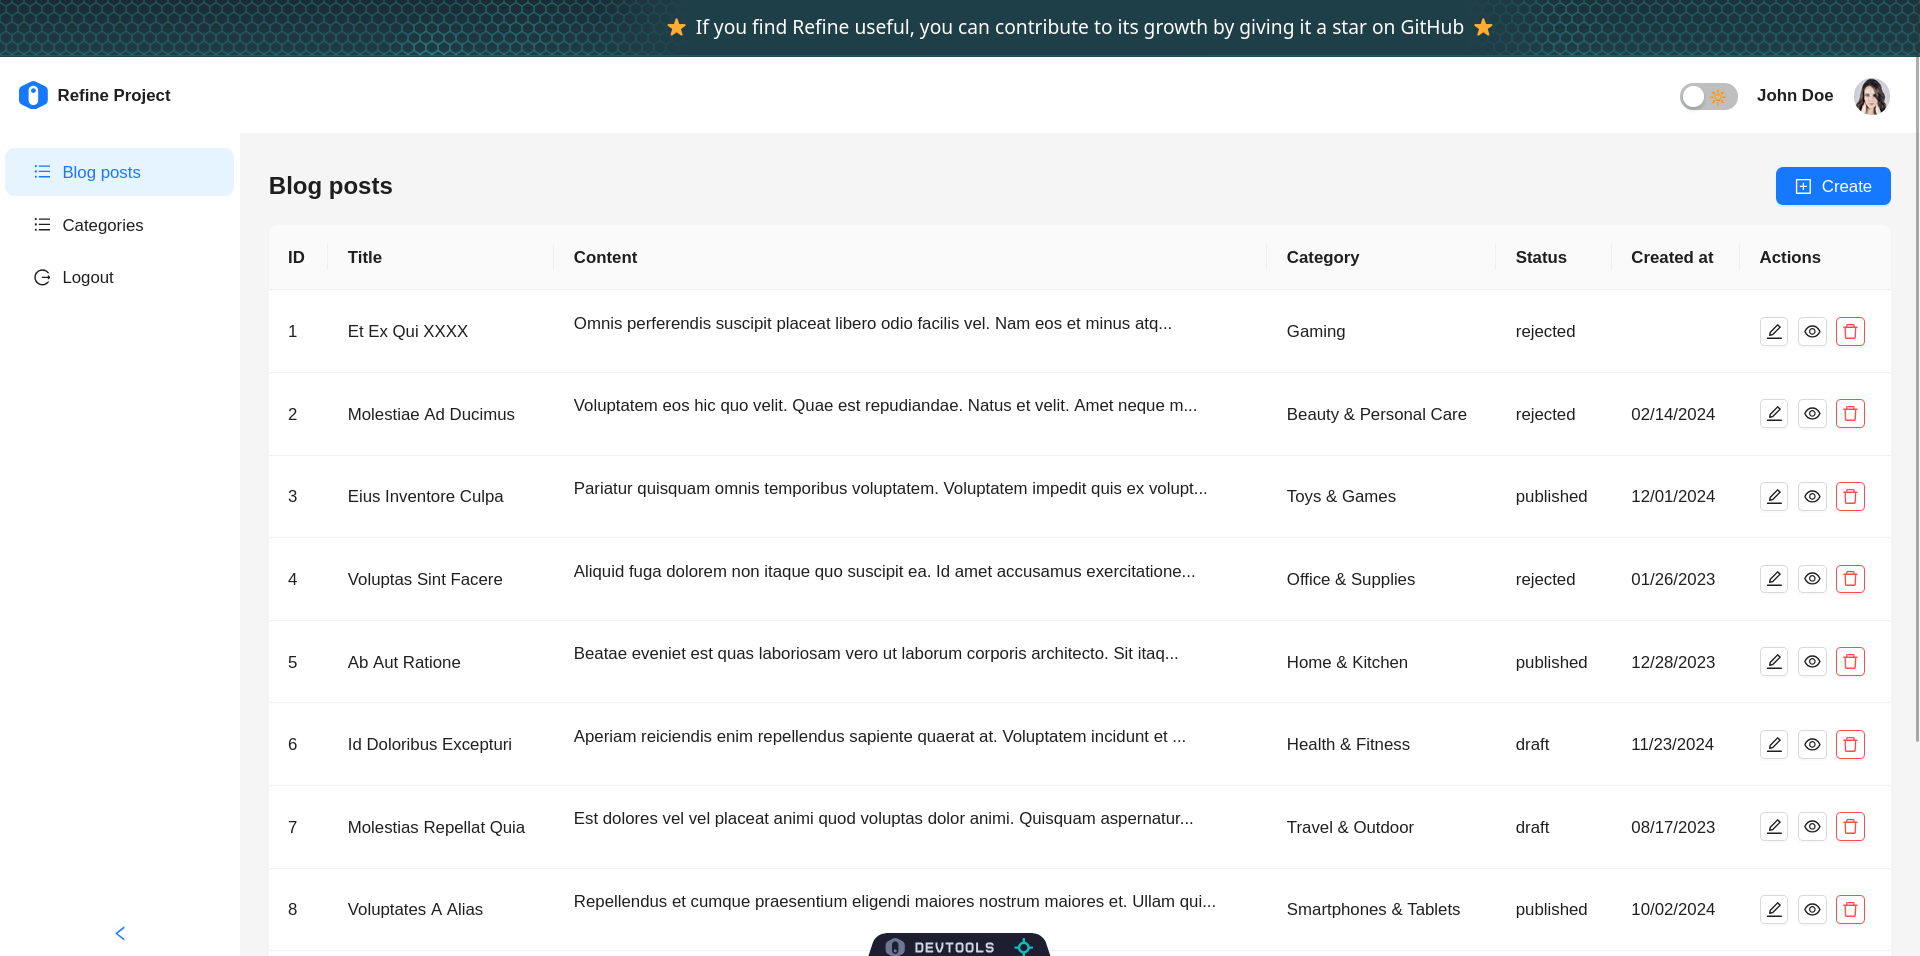
All good!
Prisma:
pnpm install --save-dev prisma
pnpm install @prisma/client next-auth@beta
Initialize prisma
npx prisma init
This will add .env file and prisma directory with the schema.
Zenstack
npx zenstack@latest init
This will install it in your project too.
Zmodel
This is important as the file named schema.zmodel will be created at the root directory. Which is the superset of .prisma files.
Generate prisma schema:
From Zenstack, prisma schema is generated, so run:
npx zenstack generate
This will override the prisma schema you had from ‘prisma init’ command and add data from .zmodel file.
Authentication:
pnpm i bcryptjs
pnpm i --save-dev @types/bcryptjs
From the blog post above of Zenstack the code is available on Github. Clone it.
For authentication to work you’ll need:
- /src/types
- /src/auth.ts
- /src/providers/auth-provider
- /src/app/api/auth
Then update the AuthProvider in layout.tsx too.
Data provider:
For this the project uses ts-pattern package install it:
pnpm i ts-pattern
Refer to data-provider in:
- /src/providers/data-provider/index.ts
// .exhaustive();
I have commented this line as it was giving error, I’ll have to check ts-pattern docs to see how it works.
This will be used in /api/[model]
pnpm i @zenstackhq/server
Getting Authentication working:
After all the above authencation and data provider related code addition make sure to migrate the changes to db
npx prisma db push
Access Controller
Get the code from the repo at:
- /src/providers/access-control-provider
Conclusion
After all these setups you will have a single source of truth schema with access control.
Now I will try to modify this according to my project requirement and update if it needs to be.
OpenAPI:
So OpenAPI is an specificaition for APIs. .zmodel file can generate OpenAPI file called openapi.yaml it is a huge file, like 44k lines for code.
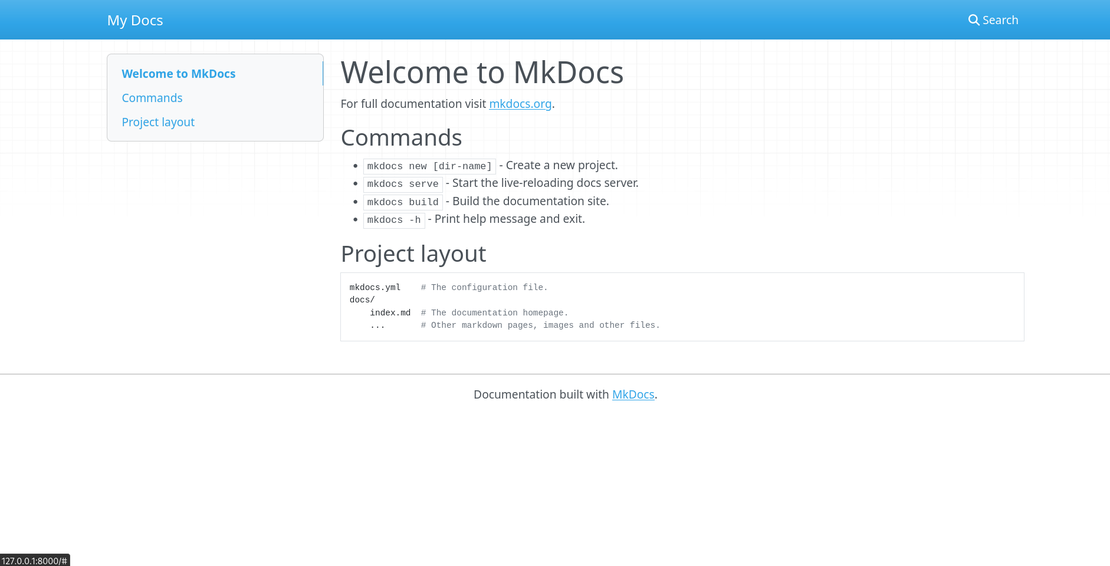
This yaml file can be rendered using Swagger UI as mentioned here.
npm install --save-dev @zenstackhq/openapi
npm install swagger-ui-express
npm install -D @types/swagger-ui-express
Wait a minute did I just installed items for express??? How am I going to use this with Nextjs???
You need to this one instead:
npm install next-swagger-doc swagger-ui-react js-yaml
// app/api/docs/route.ts
import { createSwaggerSpec } from "next-swagger-doc";
import { readFileSync } from "fs";
import { join } from "path";
import yaml from "js-yaml";
import { NextResponse } from "next/server";
import { SwaggerDefinition, OAS3Definition } from "swagger-jsdoc";

export async function GET() {
  try {
    const openApiPath = join(process.cwd(), "openapi.yaml");
    const openApiContent = readFileSync(openApiPath, "utf8");
    const openApiJson = yaml.load(openApiContent) as SwaggerDefinition &
      OAS3Definition;

    const spec = createSwaggerSpec({
      definition: openApiJson,
      apiFolder: "app/api", // Path to your API routes
    });

    return NextResponse.json(spec);
  } catch (error) {
    console.error("Failed to load OpenAPI spec:", error);
    return NextResponse.json(
      { error: "Failed to load API documentation" },
      { status: 500 }
    );
  }
}
You’ll also need to install the type definitions for swagger-jsdoc:
npm install --save-dev @types/swagger-jsdoc @types/swagger-ui-react @types/js-yaml
The key changes made to fix the type error:
- Added import for
SwaggerDefinitionandOAS3Definitiontypes from swagger-jsdoc - Added type assertion for the
yaml.load()result - Added error handling
- Specified the
apiFolderin the createSwaggerSpec options
If you’re still seeing type errors, you might need to create a custom type definition for your OpenAPI spec. Here’s how you can do that:
// types/swagger.d.ts
import { SwaggerDefinition } from "swagger-jsdoc";

declare module "swagger-jsdoc" {
  export interface CustomSwaggerDefinition extends SwaggerDefinition {
    openapi: string;
    info: {
      title: string;
      version: string;
      description?: string;
    };
    servers?: {
      url: string;
      description?: string;
    }[];
    paths: Record<string, any>;
    components?: Record<string, any>;
  }
}
Then you can update the route handler to use this custom type:
const openApiJson = yaml.load(openApiContent) as CustomSwaggerDefinition;
Also, make sure your tsconfig.json includes the type definitions:
{
  "compilerOptions": {
    // ... other options
    "typeRoots": ["./node_modules/@types", "./types"]
  }
}