Nestjs Graphql Nextjs Refine Part 3
- Atul
- Programming
- December 15, 2024
Table of Contents
In previous blog post I guess the backend is ready, with distro resource, modified via GraphQL endpoints, saved in prisma based database, handled with NestJS.
Refine with GraphQL
Now let’s delve into the UI part of the project.
For UI:
- NextJS (React)
- GraphQL Client
- Refine
Let’s see how it goes.
 __________________________________________
/ They asked for a robust B2B solution. We \
\ heard 'time to shine with Refine'!       /
 ------------------------------------------
        \   ^__^
            ■-■¬\_______
            (__)\       )\/\
                ||----w |
                ||     ||
✔ Downloaded remote source successfully.
✔ Choose a project template · refine-nextjs
✔ What would you like to name your project?: · hellonext-graphql
✔ Choose your backend service to connect: · Graphql
✔ Do you want to use a UI Framework?: · antd
✔ Do you want to add example pages?: · antd-example
✔ Do you need any Authentication logic?: · auth-provider-custom
✔ Choose a package manager: · yarn
Okay so this should result in a project with:
- Refine
- Nextjs
- Graphql as data provider.
Start the project:
yarn dev
There are not much sample pages here, so have to do things on my own.
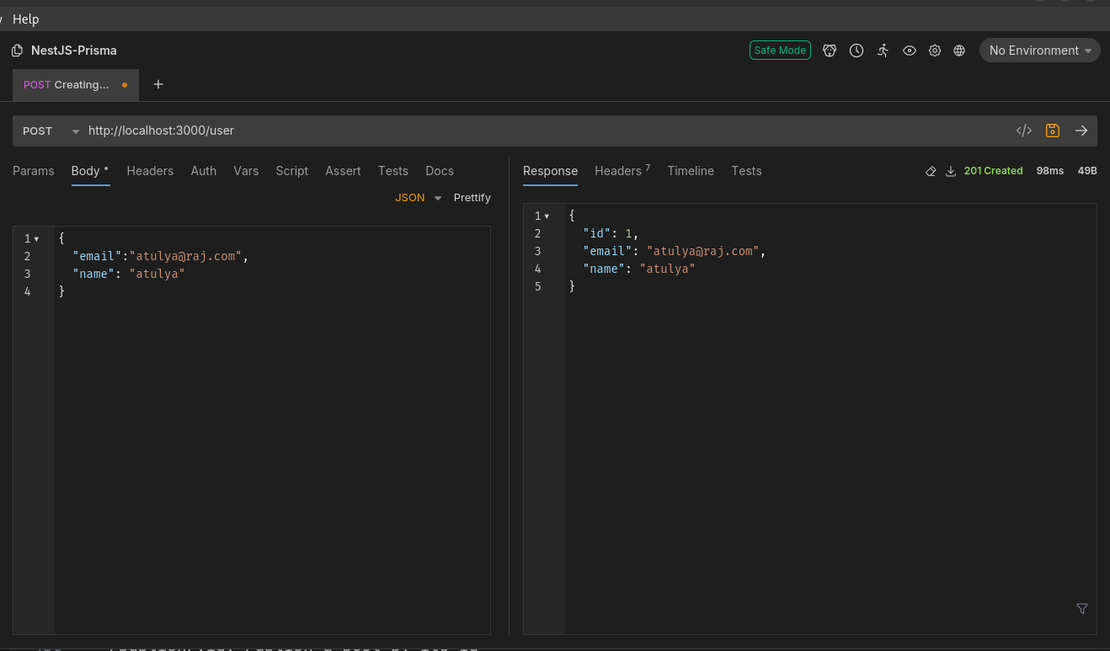
Preparing the backend:
First let’s run the backend server at 5000 port.
yarn start:dev

Application is running on: http://[::1]:5000
Graphql Playground is available at http://localhost:5000/graphql
Frontend:
References from official refine docs.
Update the API_URL:
In root layout.tsx, update the API_URL for dataProvider.
"use client";

import graphqlDataProvider, { GraphQLClient } from "@refinedev/graphql";

const API_URL = "http://localhost:5000/graphql";

export const client = new GraphQLClient(API_URL);

export const dataProvider = graphqlDataProvider(client);
Create new route
/src/app/distros
Inside this create a page.tsx and queries.ts file
queries.ts
import gql from "graphql-tag";
const DISTROS_LIST_QUERY = gql`
query {
distros {
name
description
releaseYear
}
}
`;
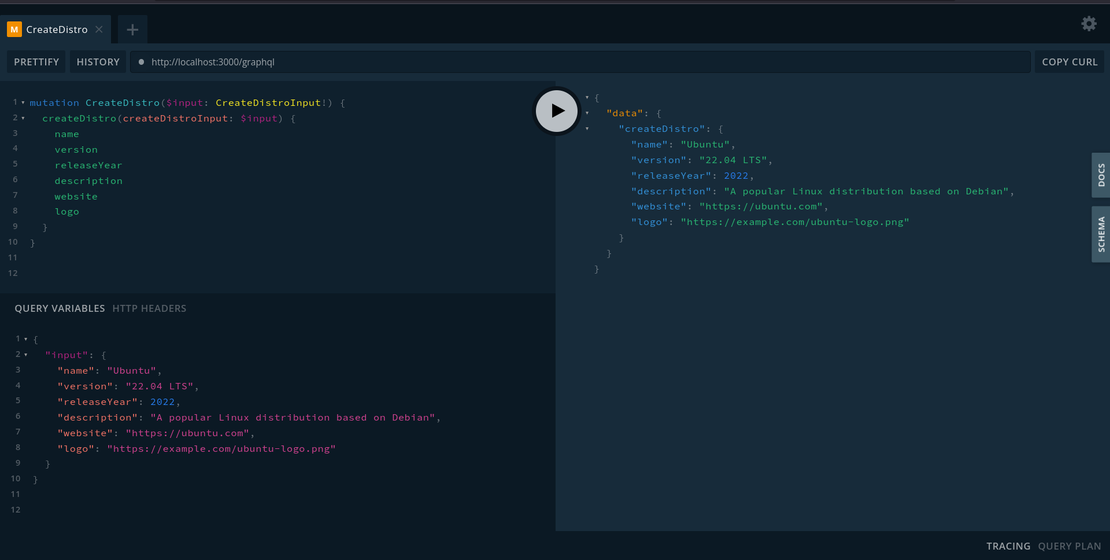
const DISTROS_CREATE_MUTATION = gql`
mutation CreateDistro($input: CreateDistroInput!) {
createDistro(createDistroInput: $input) {
name
version
releaseYear
description
website
logo
}
}
`;
Add these queries from previous blog post.
in ./distros/page.tsx
"use client";
import { useList } from "@refinedev/core";
import { DISTROS_LIST_QUERY } from "./queries";

export default function DistroListPage() {
  const { data } = useList({
    resource: "posts",
    meta: { gqlQuery: DISTROS_LIST_QUERY },
  });

  console.log("Data from Distros: ", data);

  return <div>{/* ... */}</div>;
}
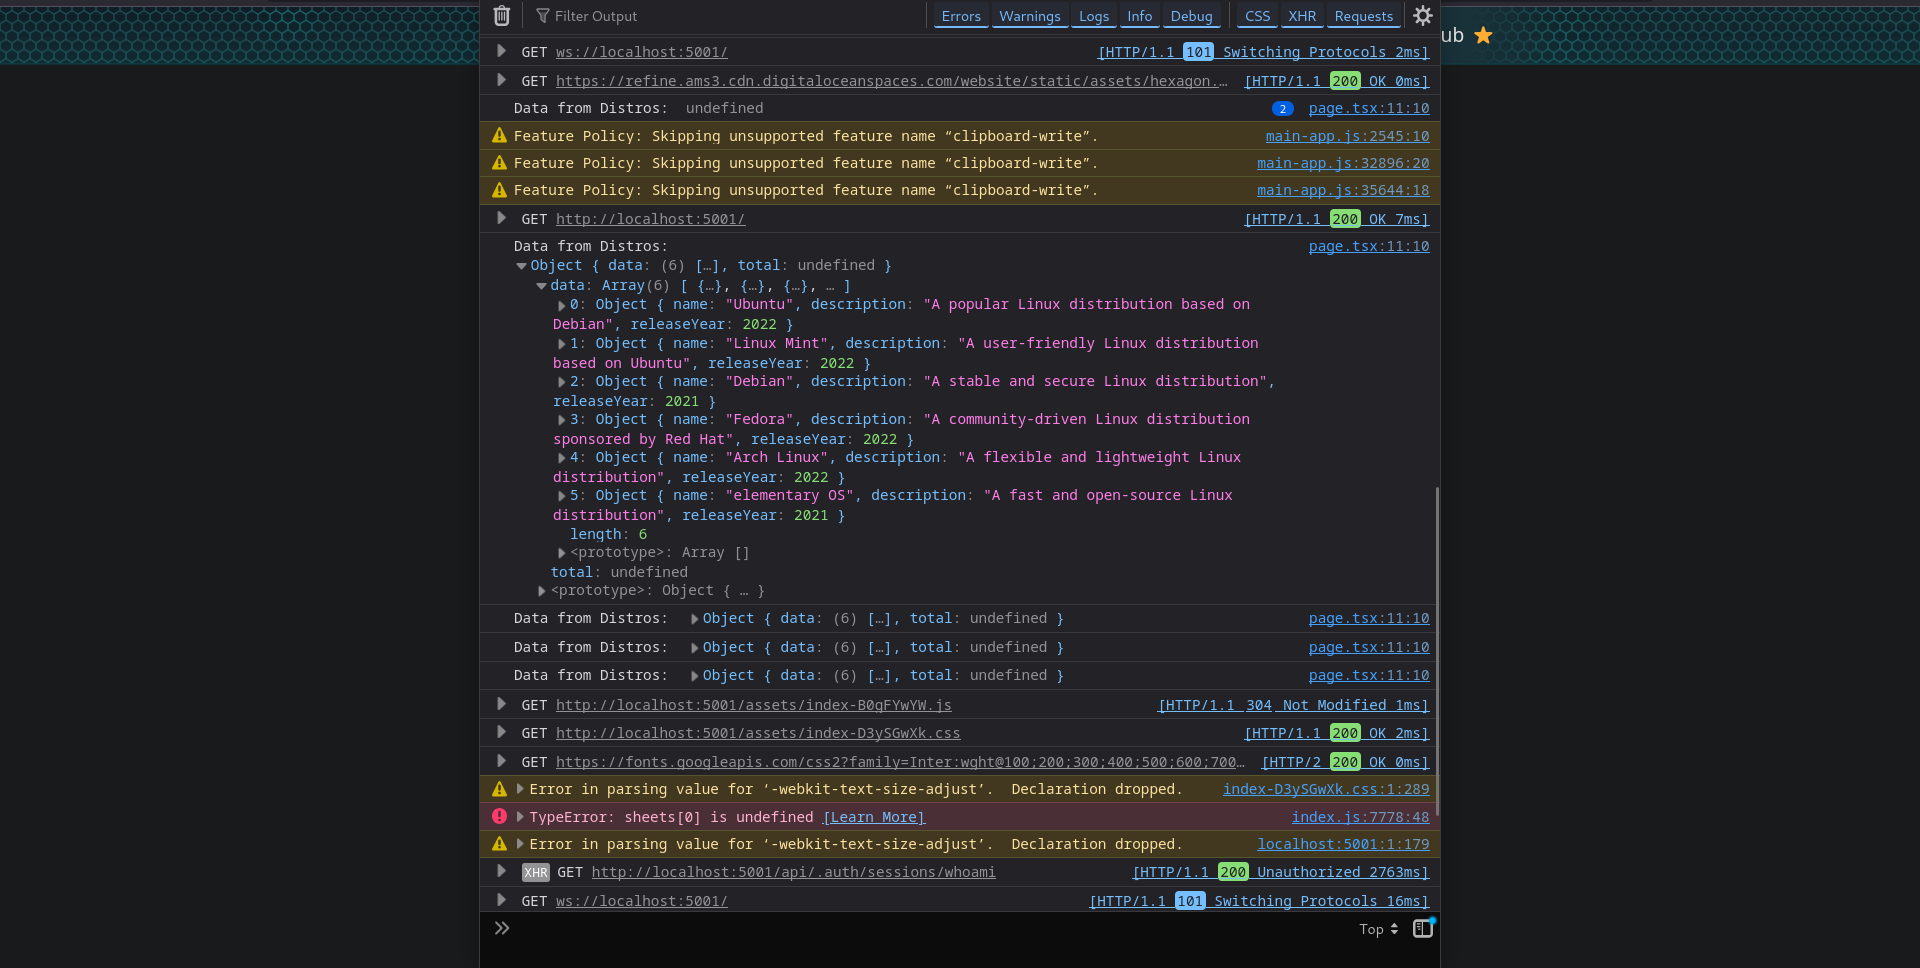
Well the data is here and frontend did received the distros!!
Great success!!
Create a UI component:
"use client";
import { useList } from "@refinedev/core";
import { DISTROS_LIST_QUERY } from "./queries";
import { Card, Col, Descriptions, Row, Tag } from "antd";
import { Typography } from "antd";
import { Suspense } from "react";
import Image from "next/image";

const { Title } = Typography;

export default function DistroListPage() {
  const { data } = useList({
    resource: "distros",
    meta: { gqlQuery: DISTROS_LIST_QUERY },
  });

  // Log the entire data object to understand its structure
  console.log("Data from Distros: ", data);

  // Access the actual list of distros
  const distroList = data?.data || [];

  return (
    <Suspense fallback={<div>Loading...</div>}>
      <div className="p-6 bg-gray-100">
        <Title level={2} className="text-center mb-6">
          Linux Distributions
        </Title>
        <Row gutter={[16, 16]}>
          {distroList.map((distro: any, index: number) => (
            <Col key={distro.id || index} xs={24} sm={12} md={8} lg={8}>
              <Card
                hoverable
                className="h-full"
                title={
                  <div className="flex justify-between items-center">
                    <span className="font-bold text-xl">{distro.name}</span>
                    <Tag color="blue">{distro.releaseYear}</Tag>
                  </div>
                }
              >
                <div className="flex flex-col justify-between h-full">
                  {/* Add logo image */}
                  {distro.logo && (
                    <div className="flex justify-center mb-4">
                      <Image
                        src={distro.logo}
                        alt={`${distro.name} logo`}
                        width={100}
                        height={100}
                        className="object-contain"
                      />
                    </div>
                  )}
                  <Descriptions>{distro.description}</Descriptions>
                </div>
              </Card>
            </Col>
          ))}
        </Row>
      </div>
    </Suspense>
  );
}
In next.config.mjs
/** @type {import('next').NextConfig} */
const nextConfig = {
  transpilePackages: ["@refinedev/antd"],
  output: "standalone",
  images: {
    remotePatterns: [
      {
        protocol: "https",
        hostname: "**",
      },
      {
        protocol: "http",
        hostname: "**",
      },
    ],
  },
};

export default nextConfig;
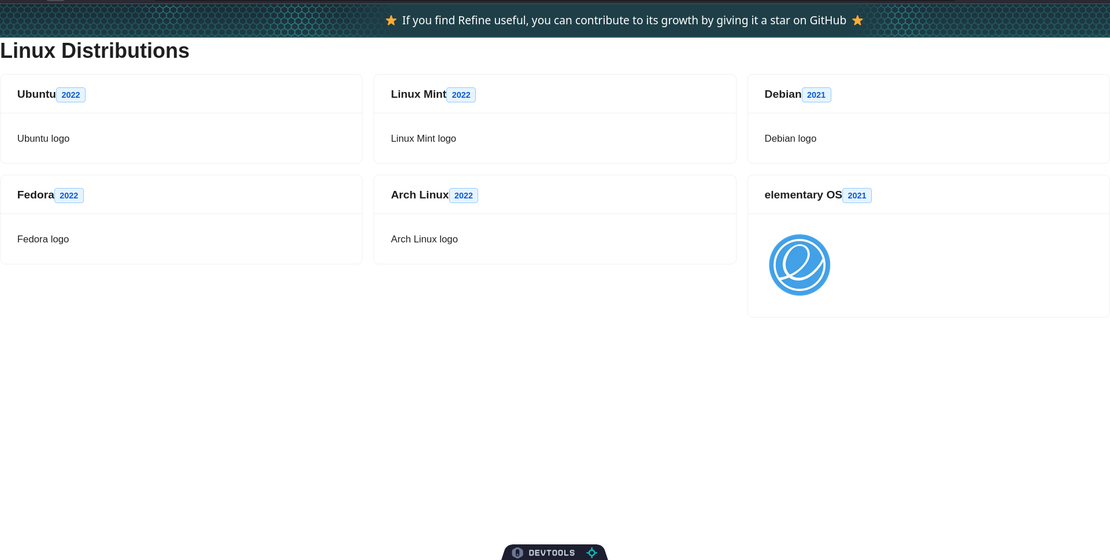
This should render the page below.

If you remember I did added the actual link to elementaryOS logo.
Creation of records seems a bit tricky.
But I did consume the GraphQL API!