Creating site using Hugo
Table of Contents
Let’s Hugo!
I personally find creating this site using Hugo easy. I did faced some issues regarding the use of resources inside .md files. Other than that It was a breeze🚀.
For making your project on Hugo, you’ll need to install Hugo.
sudo apt install hugo
You will be also working with git.
1. To get started:
Hugo has a great documentation on their site. For installing on different platforms.
2. Creating your new project:
hugo new site your_site_name
This will create the basic structure of the site cd into it.
The directory themes, this is where you will save the themes created by others.
git init
For checking the progress of the project if it’s fine till now.
hugo server -D
-D is for Development more on that later.
CTRL + c to get back your terminal.
You will find http://localhost:1313/ link. This is where the site is hosted(locally) currently. There’s nothing😂.
3. Time for buying clothes for your site!
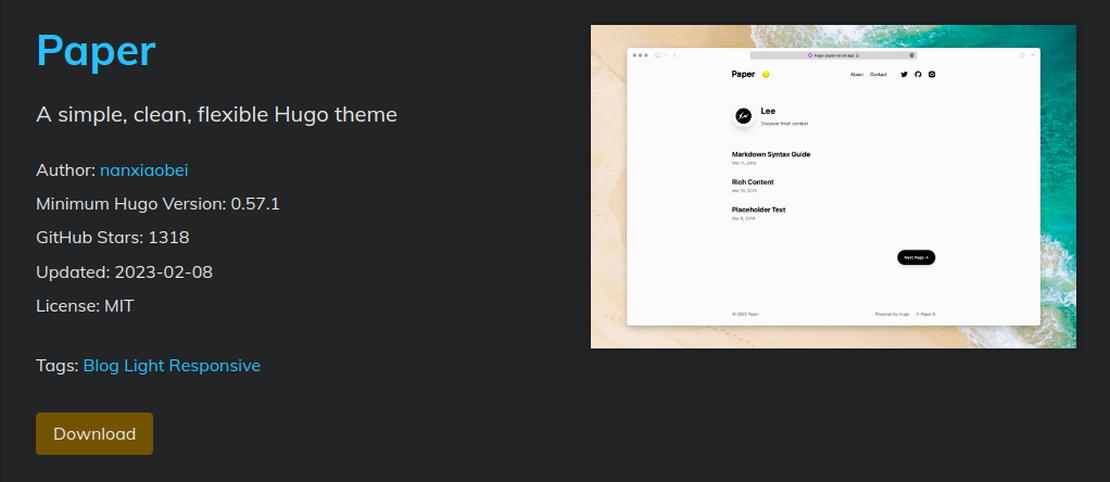
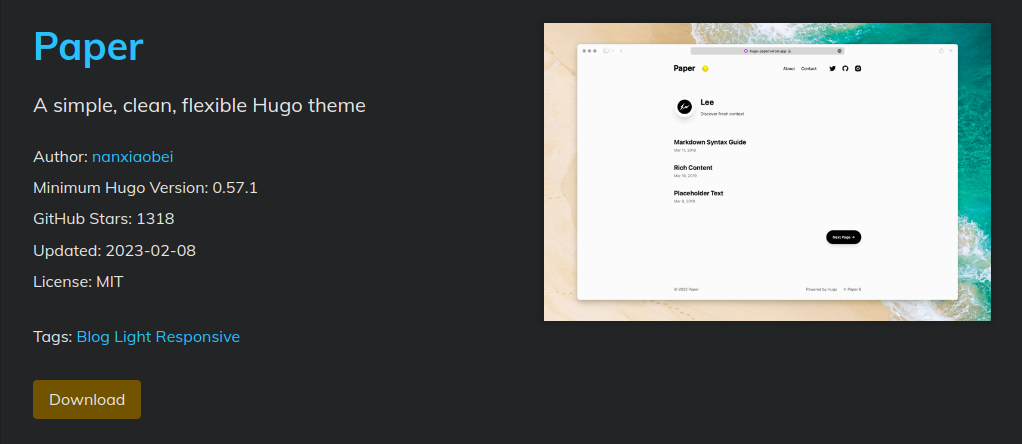
Visit Hugo themes, contains a huge amount of themes. Find one of your choice😉.
I’ll go with Paper.
Every theme has their git repository available for installation.
For installing the theme/repository, run the command under your project directory.
git submodule add https://github.com/nanxiaobei/hugo-paper themes/paper
Your theme will have different link and name.
After downloading the theme you need to update the config.toml file in the project directory.
Inside config.toml file
theme = "paper"
replace “paper” with your downloaded theme name.
Now your basic theme is ready to be customize by you 😁.
Check it!
hugo server -D
4. Customization of theme:
When the site is generated by Hugo, all the configuration is kept inside config.toml file.
You can find what you should be putting inside the file at the theme’s repository. Or you can see the basic structure in directory: Your_site/theme/theme_name/examplesite
Add things like
[params]

    color = 'linen'
    avatar = 'nanxiaobei@gmail.com'
    name = 'Lee'

[menu]
    [[menu.main]]
    identifier = "about"
    name = "About"
    url = "/about/"
    weight = 10
According to your theme design, the code in config.toml will vary. Check on the theme’s documentation.
After putting your details and customizing the theme. Let’s start the actual blogging.
5. Create new posts
hugo new posts/hello.md
All your posts will be inside the contents directory/
Your_site/content/posts/
A new file will be created at posts/
This is a Markdown file with (.md) extension.
You can learn the Markdown syntax which is very easy to understand 😂 Seriously!!
I find this site pretty useful for learning the syntax.
Create your blog as you want it to be. It will appear in the site’s homepage or can be navigated through menu bar items.
6. Adding resources to the page:
This was the tricky part at first, I spent almost a week to figure out how does it work. Finally it did, Pheww!
├── content
│   └── posts
│       └── hello.md
Currently this will your structure.
For using resources in hello.md file.
├── content
│   └── posts
│       └── hello
│           └── index.md
Create a directory with the same name of the post(for ease).
Inside that directory here hello rename the hello.md file to index.md.
Then you can save resources in the newly created directory inside posts.
└── posts
    └── hello
        ├── image.png
        └── index.md
Using  You can use resources now. This is called Page bundle in terms of Hugo.
-D Wen you’re working locally on your project, Development mode is better to use. There are some themes which supports the posts to be treated as drafts. So these posts will not appear on the production. When you have finalized your posts you can remove the Draft tag from the post and publish it.
Congratulations!!🥳
You did it, now create you sites easily.
Will see you on the next post!