Setup Gitlab
Table of Contents
1. Sign Up at Gitlab.
2. Create your new Project
3. Configuring the runner
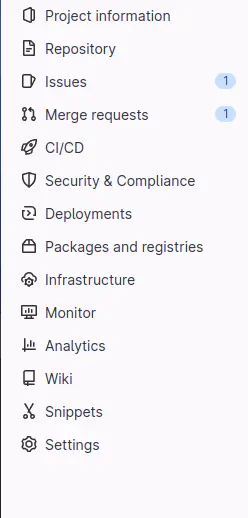
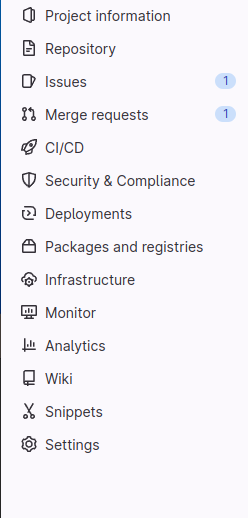
Under the sidebar on the left side of your project page.
Click on Settings > CI/CD
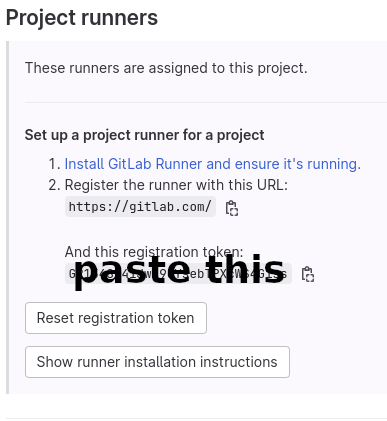
Then expand the Runners section
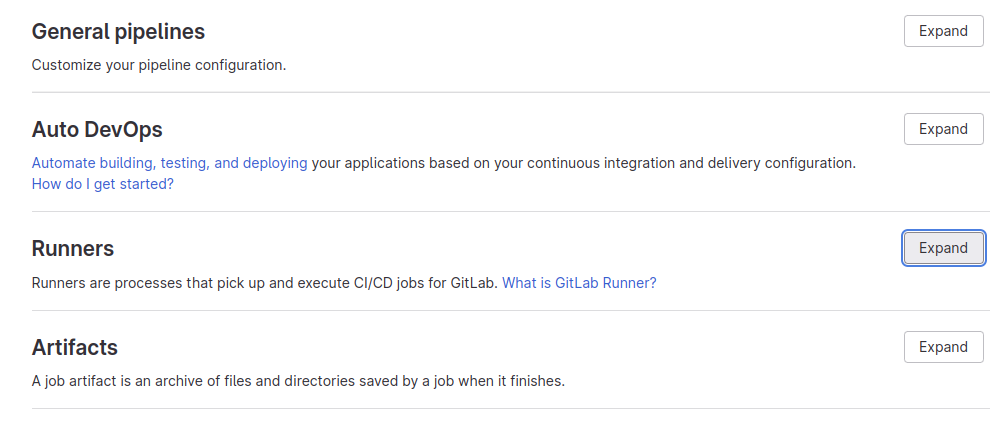
We’ll edit the project runners section

Follow this link to download the runner
Runners are available for many different platforms. I’ll be showing you for linux only.
Download the latest binary according to your architecture from here
After downloading run:
dpkg -i gitlab-runner_<arch>.deb
After completely installing the gitlab-runner
gitlab-runner register
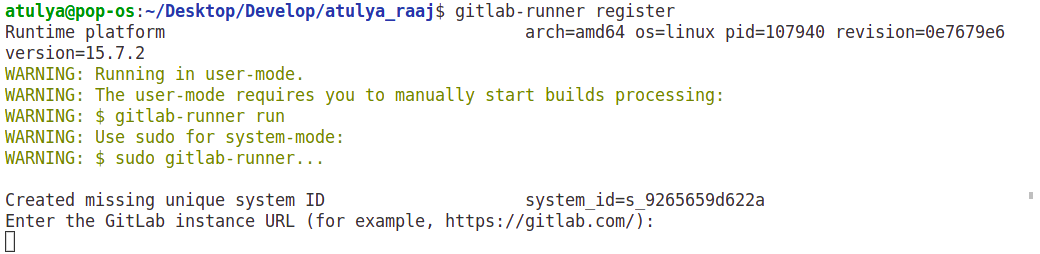
Enter the url:
https://gitlab.com/
enter the registration token provided on the gitlab page
Enter a description for the runner
Describe what the runner is for.
Most important step is to choose the executer

For normal usage shell is okay. If you want to host a website using Hugo or some other Static Site Generators using gitlab selecting docker is important.
Enter an executer:
docker
Enter the default docker image:
ruby:2.7
Hugo site will have .gitlab-ci.yml file will defines the steps to be taken for building the pages.
Basic commands for gitlab-runner
For checking the status
sudo gitlab-runner status
- For starting the service
sudo gitlab-runner start
- For stopping the service
sudo gitlab-runner stop
- For viewing the process
gitlab-runner --debug run
Your Runner will be listed on the Gitlab’s site like this
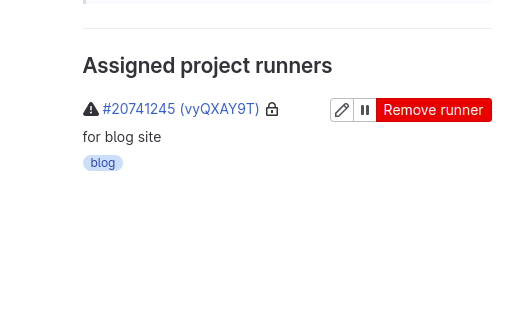
Click on the edit icon
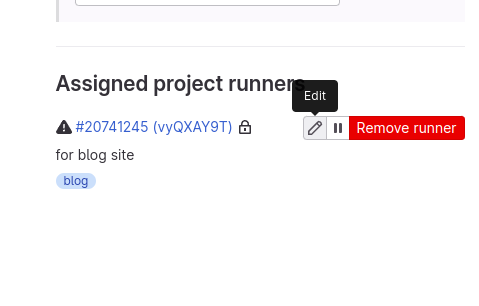
Check the option “Indicates whether this runner can pick jobs without tags”
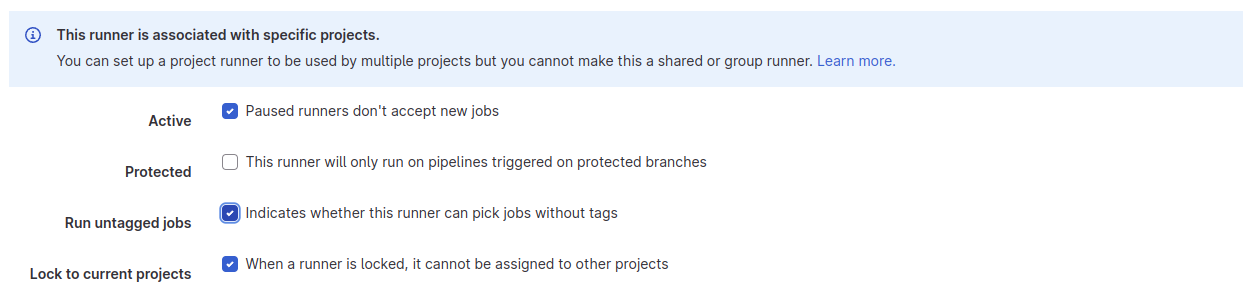
As you’re starting out with gitlab and runner it’s okay to use your runner for all jobs or all untagged jobs.
⚠️ runner has never contacted this instance:
This issue I have faced a lot!
So first,

Didn’t work?
Try verifing Gitlab-runner:
sudo gitlab-runner verify
And there you go! 🟢 looks great besides your runner eh!
Have fun setting up your Gitlab development environment.
Good day! 😉